Module Concept
If you are already opened the scene menu, there are a couple of modules that you might need to know before going deep into Scene Editing explanation.
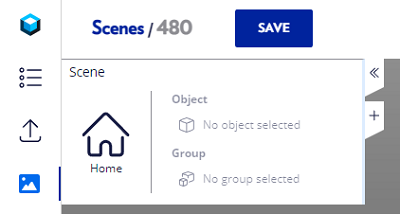
Icon Menu
There are two tiny buttons on your top-left and top-right side of the screen, the “>>”, “<<”, and “+“ icons. Where “>>” and “<<” have the function to hide and unhide the module that you already choose, as default you will have a scene home like this. If you do not have a module yet, then nothing will appear when you click the icon.

While “+” has function to add the modules.
Add Modules
There are several modules with different functions available when you click “+” that you can choose to help you build your digital factory.
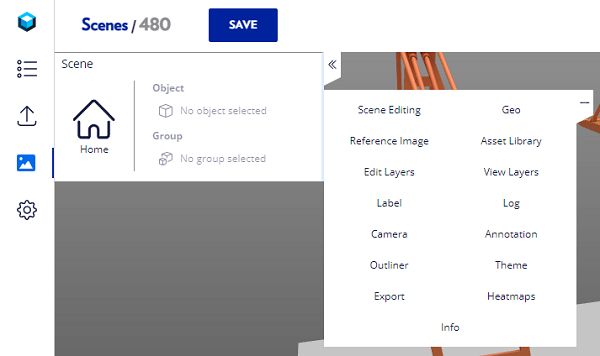
Just click the module, and the module will appear in the side menu. In this example I choose “Scene Editing” and it will appear under the scene home panel.
Delete Modules
To delete a module, click the small “x” icon in the corner of the panel.
Hide & Unhide Modules
You can hide and unhide all the modules to give you a full clear screen by click the “<<“ or “>>” icon.
Move Modules
If you want to move the module from the left side to the right side, just hold the module panel and move it to the opposite side. This is the scene looks when you used both sides of the module.
And this is the scene looks when you only use one side of module.
If you already understand how the module work, it will be easy to explain the Scene Editing.
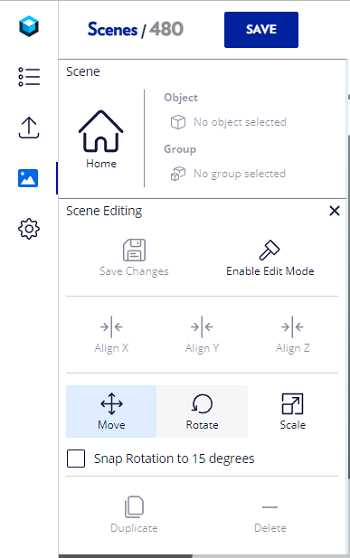
Scene Editing
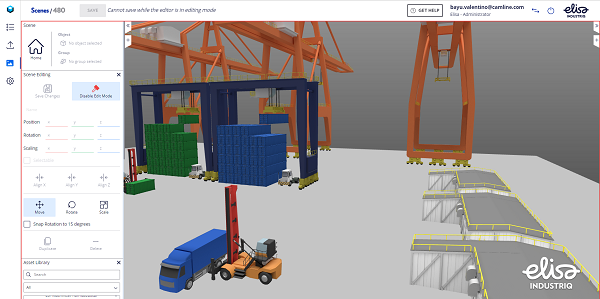
Scene editing is a place where you can build the environment for your project by mixing all the available assets and layouts you had. You can build your own working environment whether is a factory or an office. You can start by choosing the layout and start adding a couple of individual assets that are available for you. You can move, rotate, and scale all the assets that you put into the scene editing layout according to your needs.
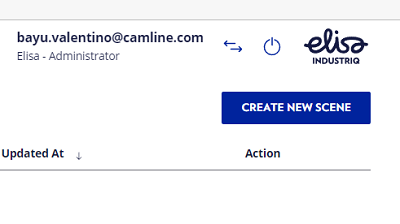
Creating scene
Choose the Scene menu (the third from the top) on the left of the screen.
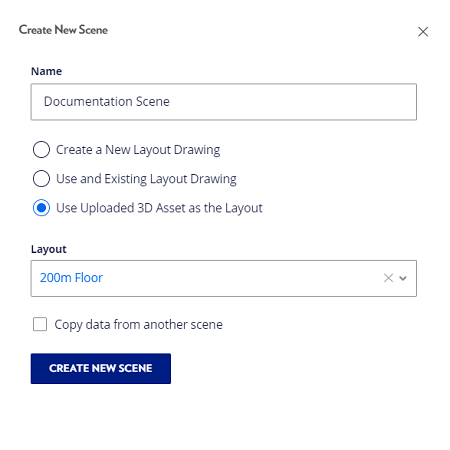
Click the “Create New Scene” button
- Name the scene as you like.
- Thick on “Use Uploaded 3D Asset as the Layout”.
- Choose the asset layout, in this example I choose a 200m floor.
- Click “Create New Scene”.
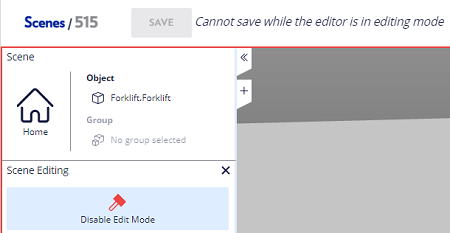
Edit scene mode
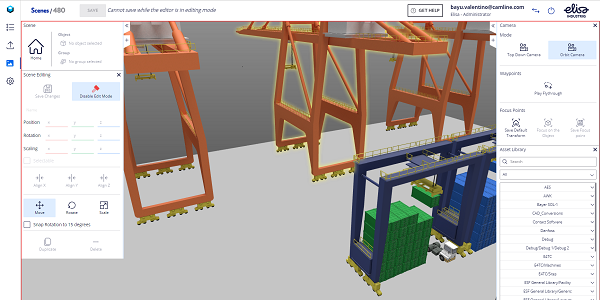
Edit scene mode allows you to modify all the assets that you have put into the scene. To go into the edit scene click “Enable Edit Mode” on the menus

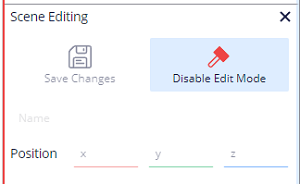
Save the scene
Once you are done editing, you can save the scene. Remember you cannot save the project while in editing mode, you have to disable edit mode first. Click “Disable Edit Mode” and click the “Save” button on the top.
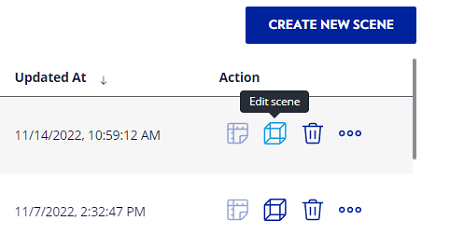
Edit the scene
Once you close the scene, you can always go back to the scene and continue editing. Go to the scene menu, find your scene and click the edit option on the right.