2D Layout Editor
Layout Editor is a feature where you can create your own layout by utilizing basic objects like walls, doors, and windows.
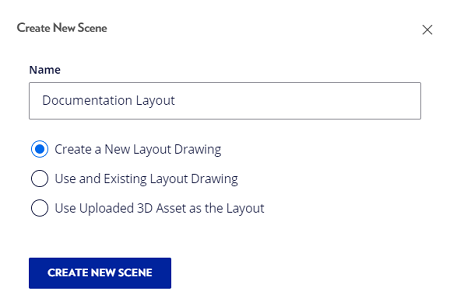
Create Layout Drawing
- Choose the Scene menu (the third from the top) on the left of the screen.
- Click the “Create New Scene” button.
- Name the scene as you like.
- Thick on “Create New Layout Drawing”.
- Click the “Create New Scene” button.
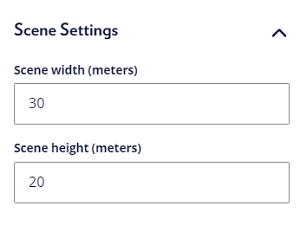
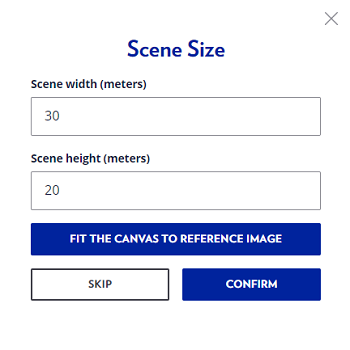
Scene Settings
Setup the width and height of the scene that you need by filling the scene setting column.
View
Drawing Mode
You can only start making a layout with a drawing mode, click the drawing button to start.
3D Preview
Once you already made some drawings, you can use the “3D Preview” button to preview your drawing.

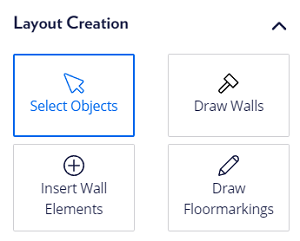
Layout Creation Menu
Select object
To select each element inside the layout, you have to click “Select Objects”.
Draw Walls
You can start the layout by drawing some walls and clicking “Draw Walls”. To draw the wall just simply click and move the mouse on the drawing editor.
Draw Floormarking
You can draw a floor marking with different colors by using this menu, To draw the floor marking just click and move the mouse on the drawing editor.
Insert Wall Element
On this menu, you can add wall elements like a few kinds of doors, windows, and columns. By utilizing these elements, you could create your own factory building, To insert the element, drag and drop in the wall line at the drawing editor.
Delete Element
To delete an element, you have to select the element you want to delete. Click “Select Objects”, select the element, and click the “Delete” option.

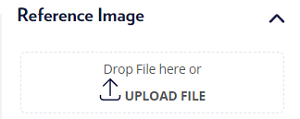
Reference Image
You can use your image reference while building the layout by dropping the file or just uploading the file. Once you add the image reference .
Adjust The Position
you can adjust the image reference position manually by clicking “Move Reference Image” and moving the image with the mouse, then clicking “Confirm”.
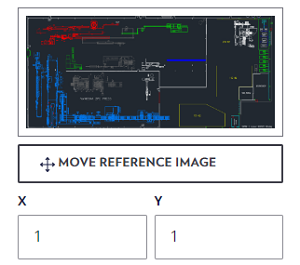
You can also move the image reference using X & Y axis by typing the value. Value 0,0 will put the image in the bottom left of the Drawing area, once you are done click the “Confirm” button.
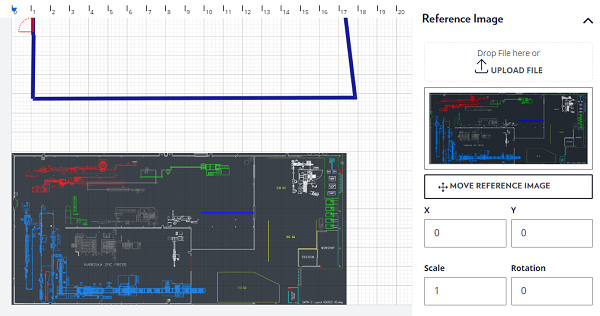
Scale and Rotation
You can also adjust the scale and rotation of the image reference by typing the value in the Scale and Rotation option.

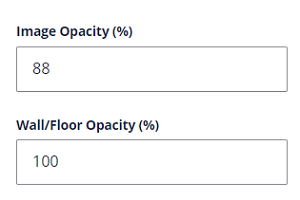
Image Opacity
This option is to make the image reference transparent by the percentage value, so you could easily make the layout without getting distracted by the reference image.
Wall/Floor Opacity
This option is to make the element (walls, windows, doors, etc) that you have created become transparent by the percentage value.
Launch Scaling Tools
Launch Scaling Tools is the tool to adjust the scale in the drawing area to fit with the image reference. It makes you can easily follow the image reference without hesitation about the size going wrong.

Click “Launch Scaling Tools”. Draw Reference Line.
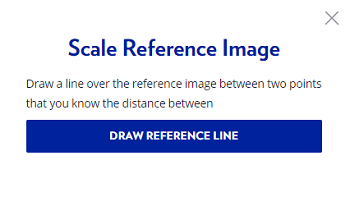
Input the distance of the line in the image. Click “Scale Image to Map Units”. Click “Confirm”.

If you want to adjust the scene size to match the image reference (optional),Click “Fit the Canvas to Reference Image” and click “Confirm”. Click “Skip” if you want to leave the scene size as it is.
Once you are done making the layout scene, you have three options.
Save
To save the scene and stay on the page
Save Exit
To save the scene and exit the page
Proceed to Asset Placement
to start placing the assets, you can read how to do asset placement here
![]()