CAD converter example
Step 1: Importing
Here we have an example file that is a fairly standard lathe. I will be processing this file so it can be uploaded into the 3D portal.
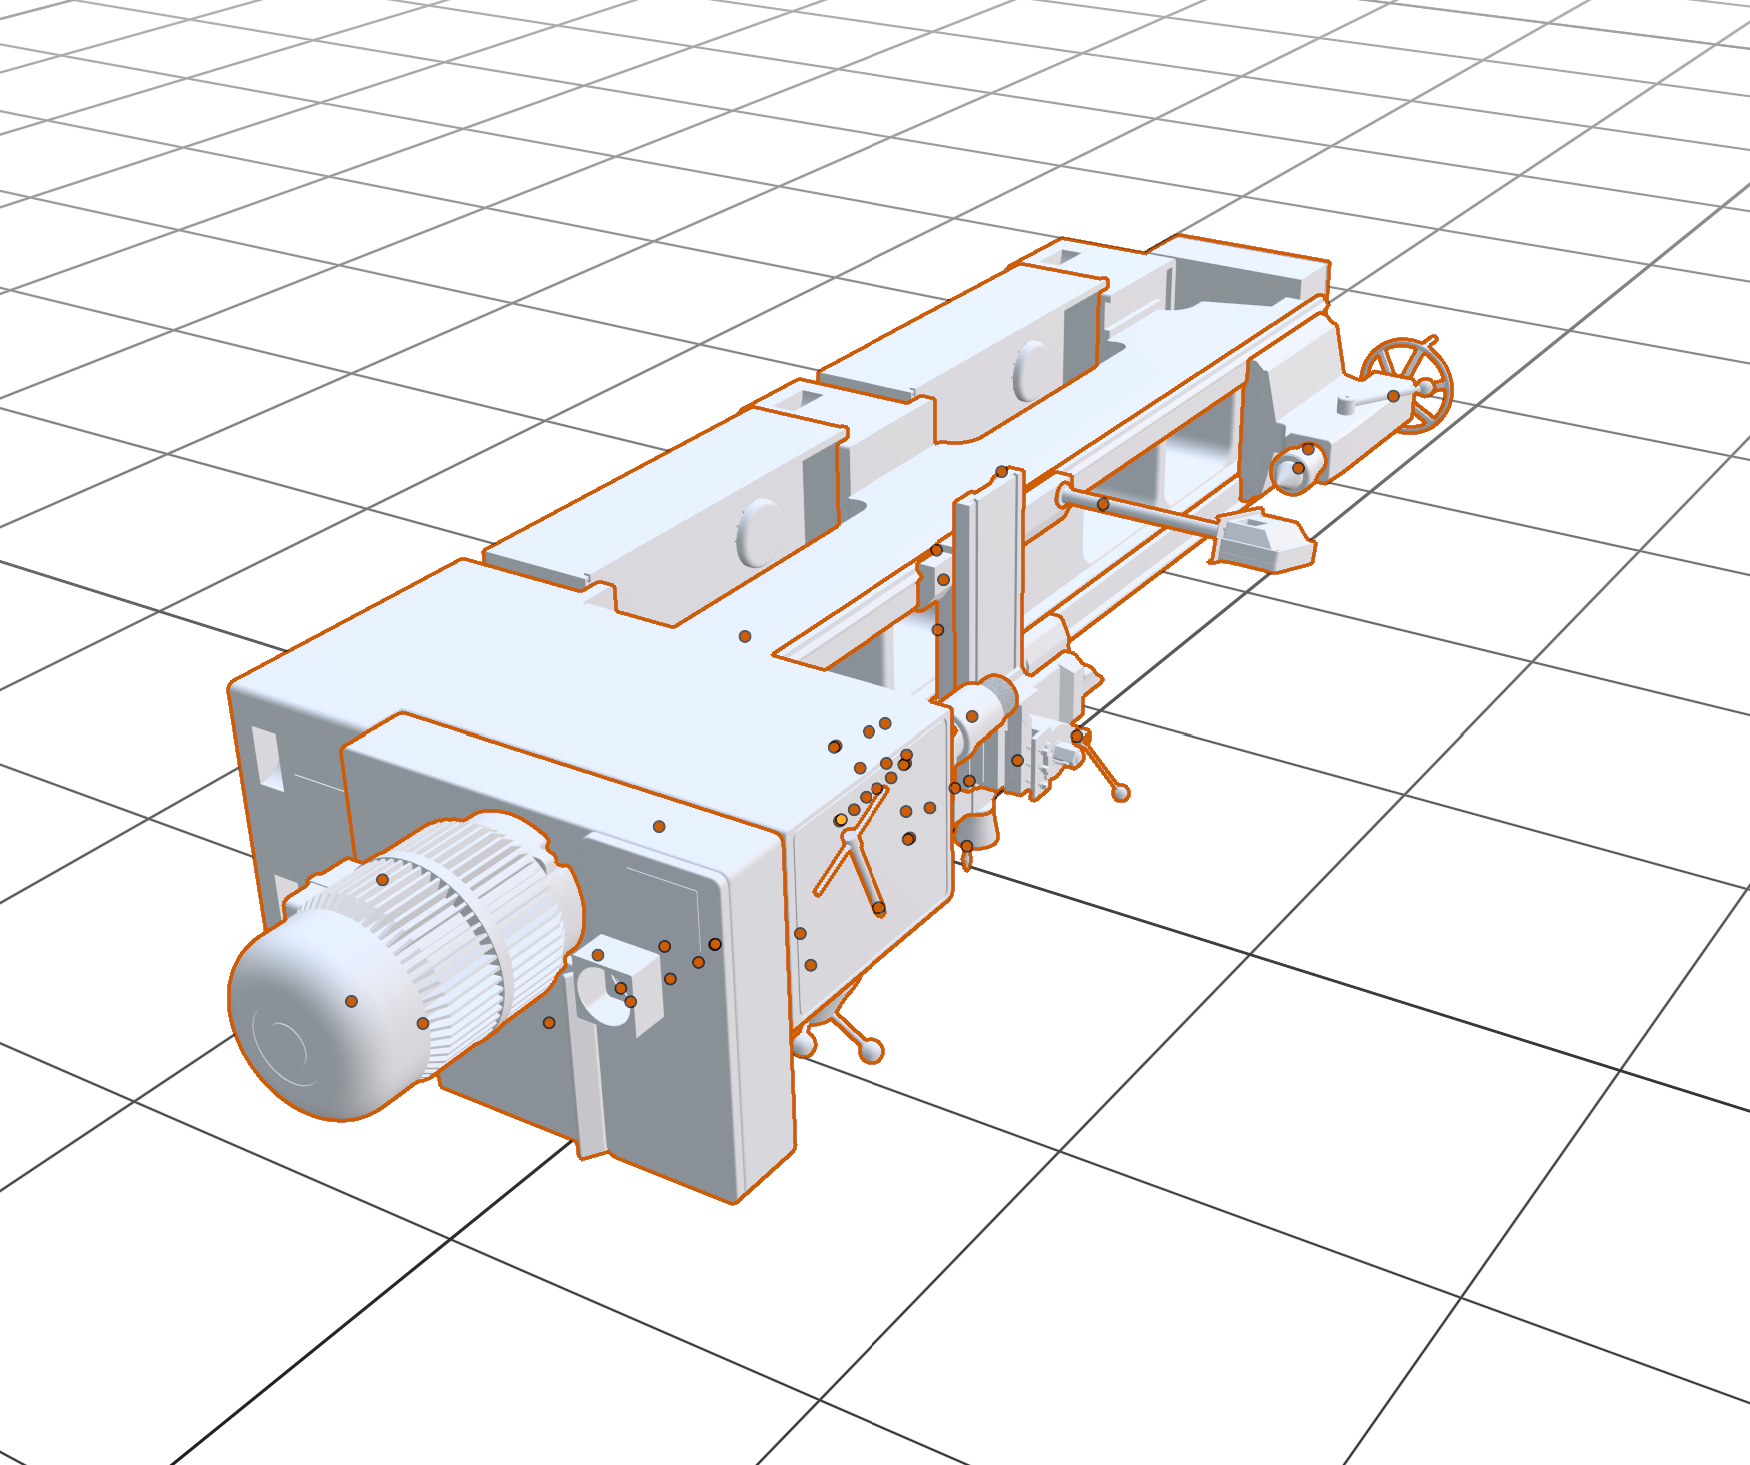
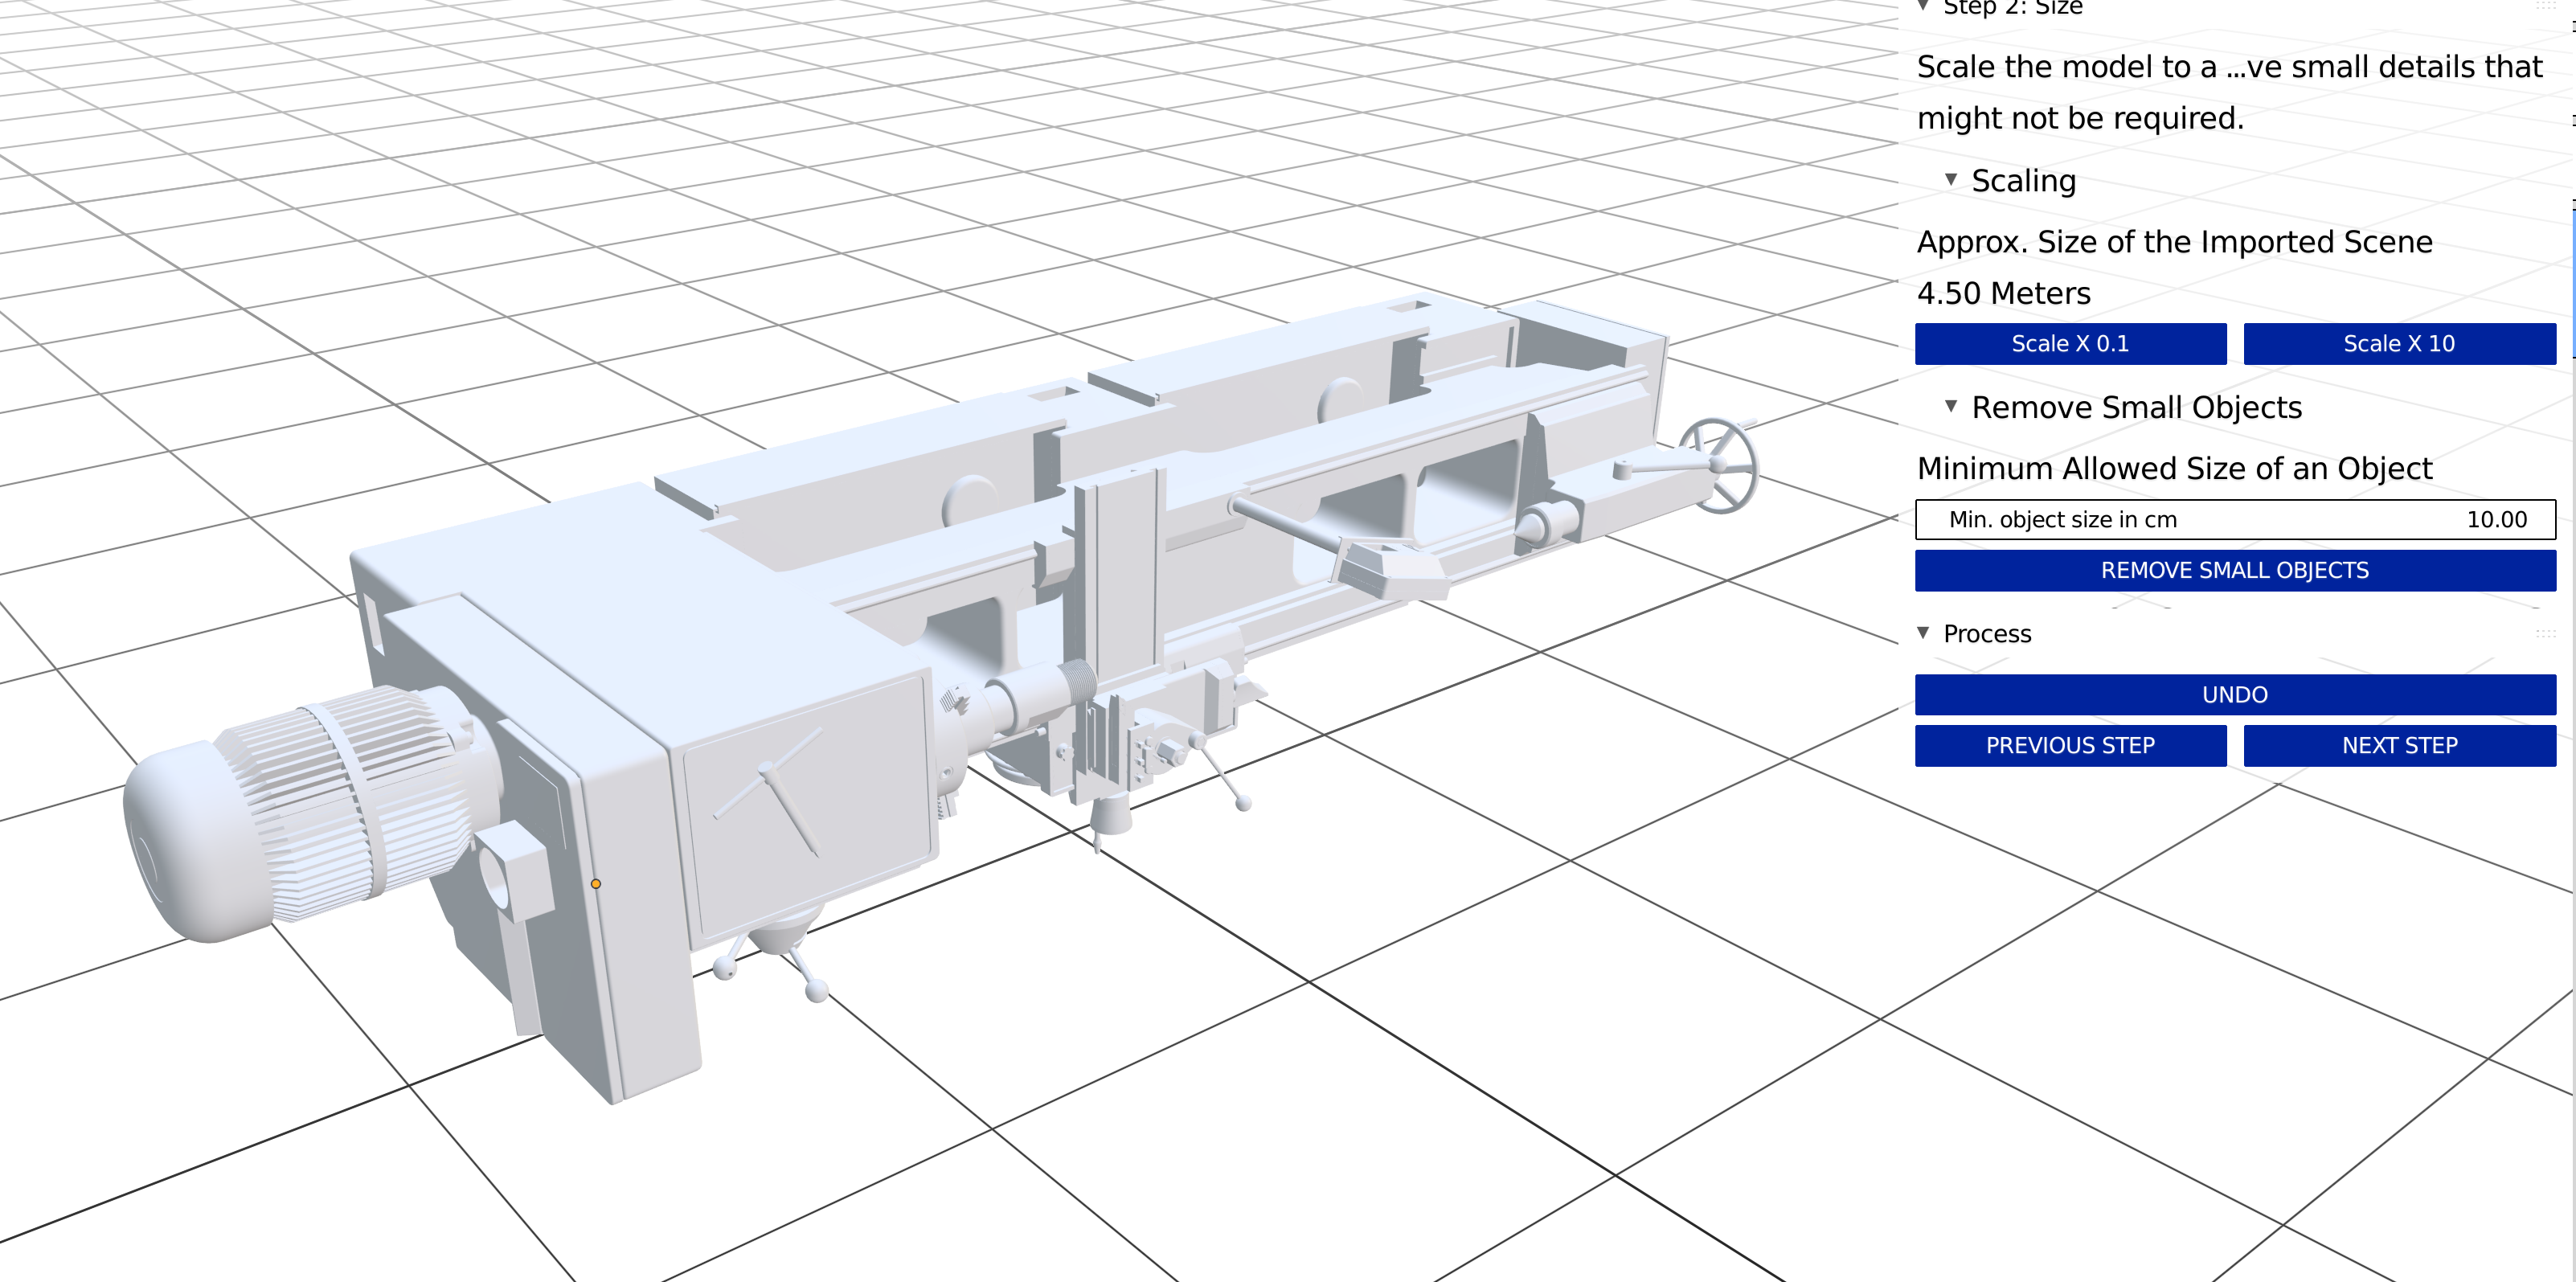
Step 2: Size
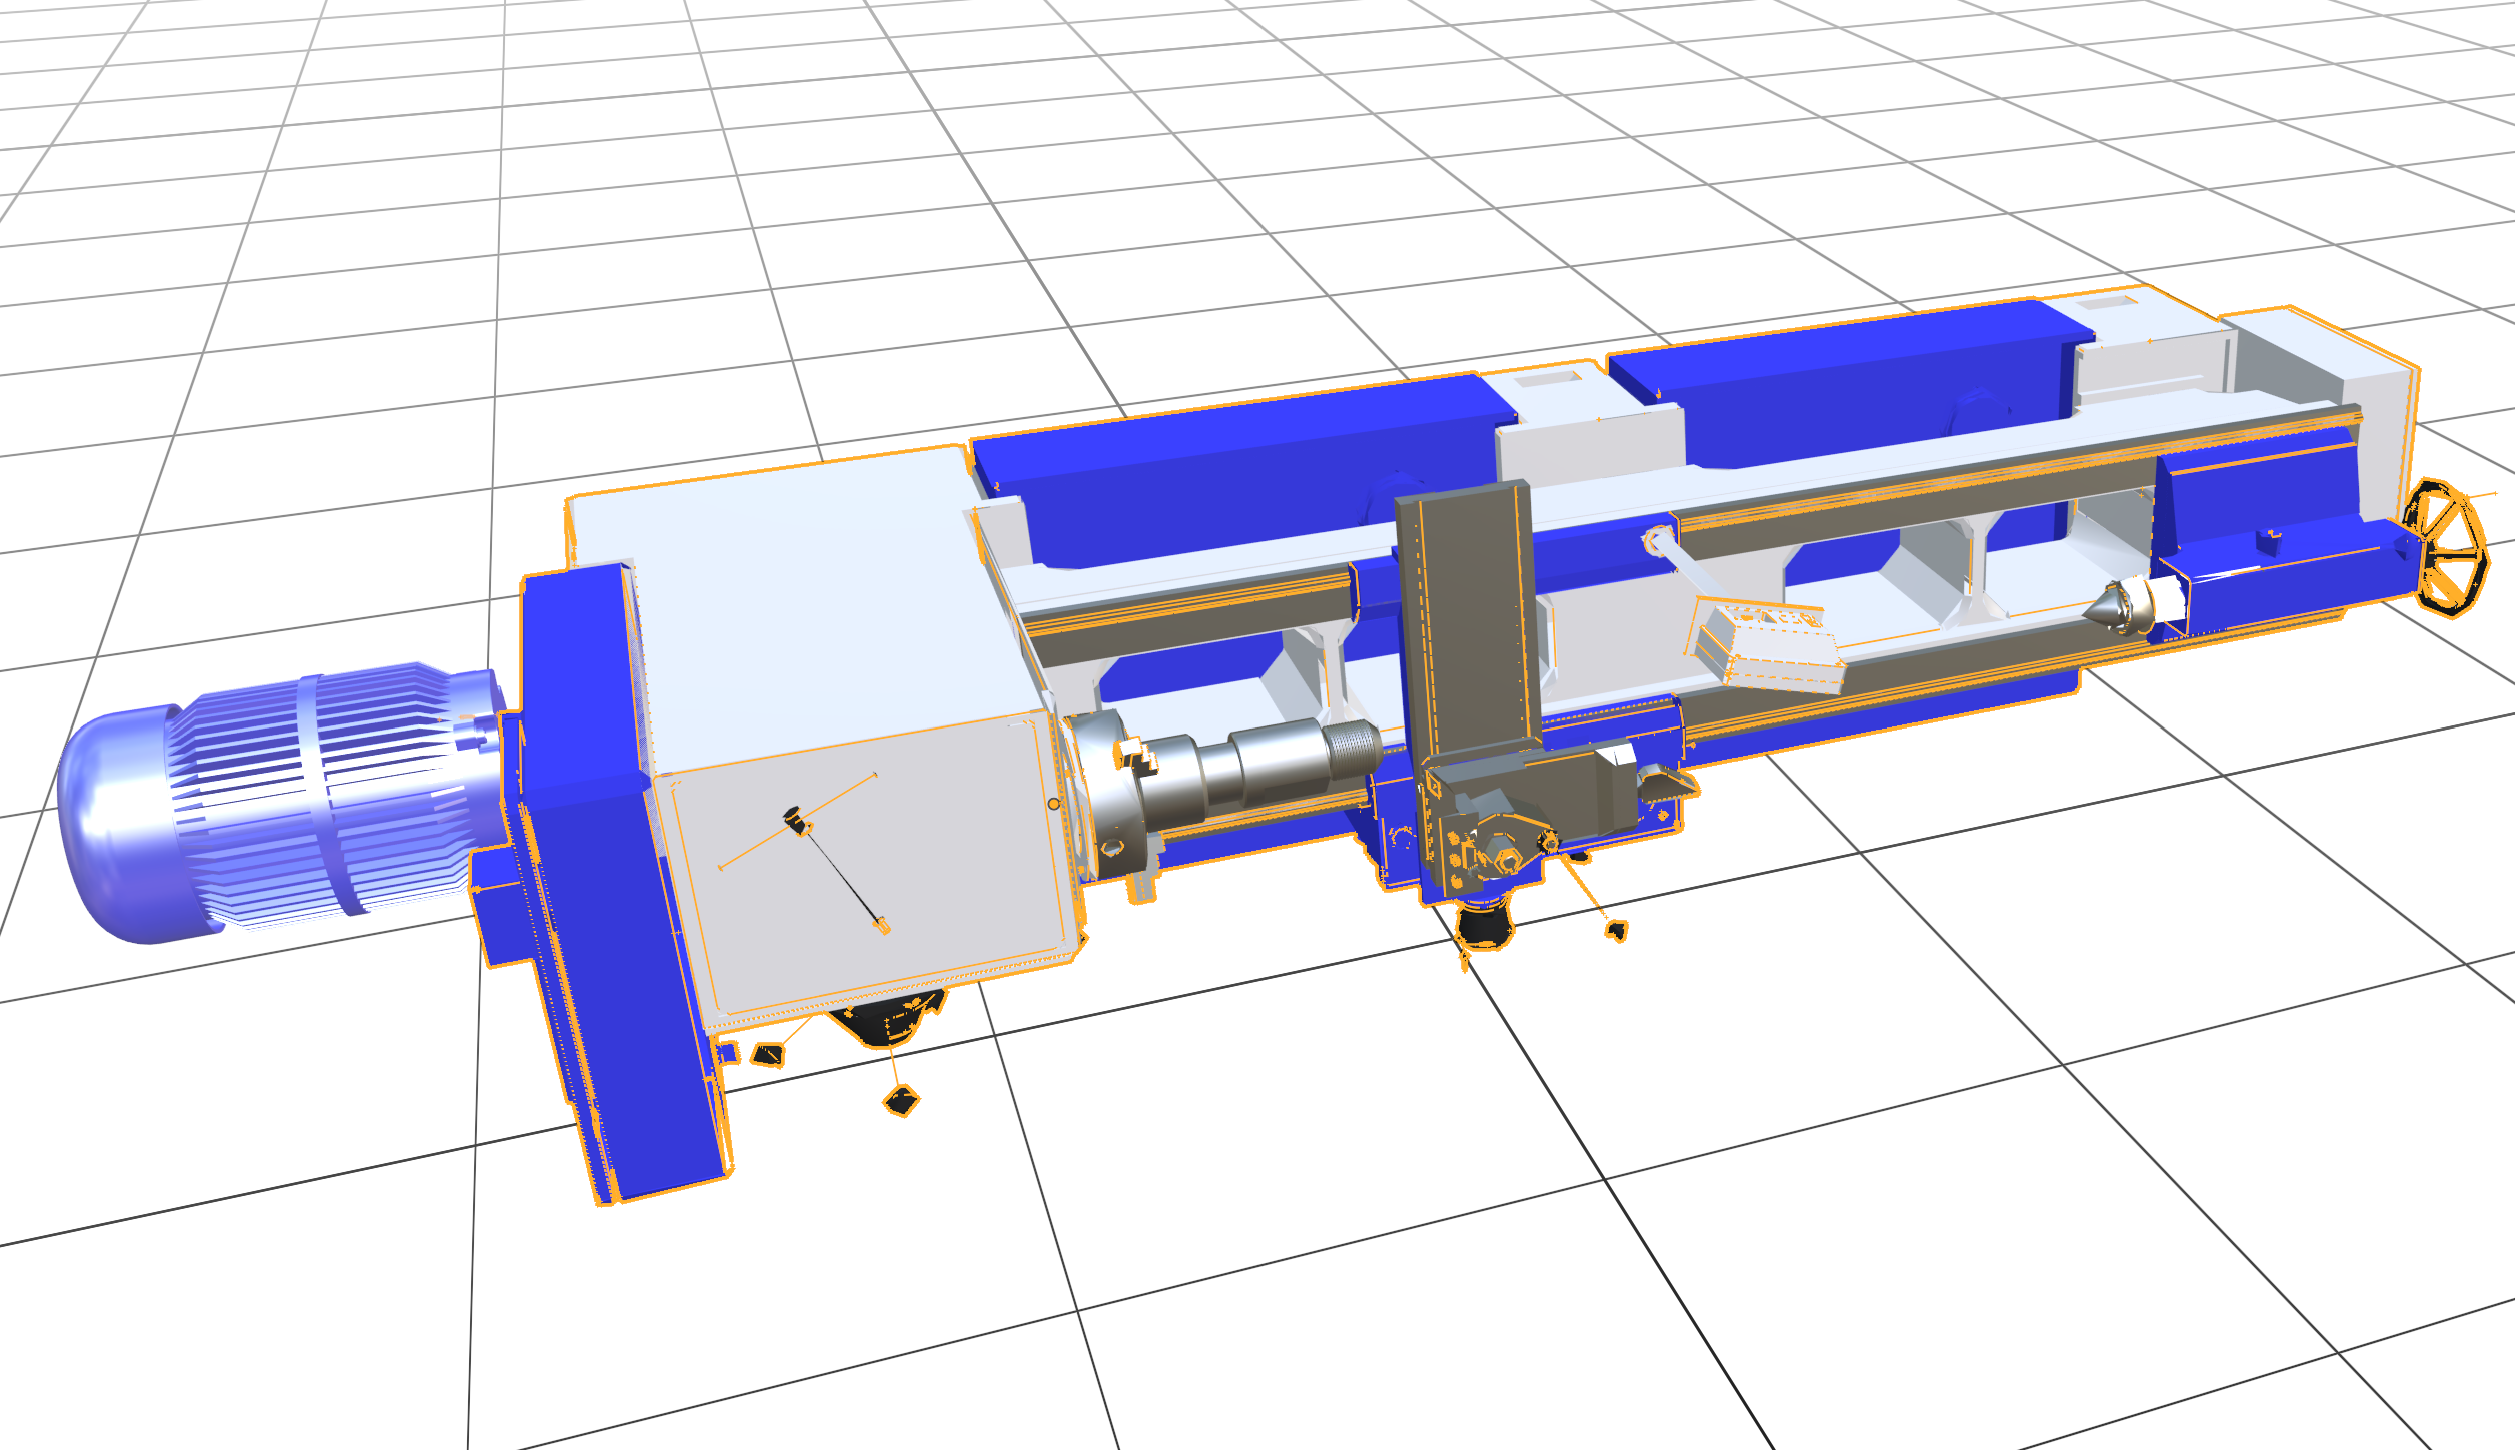
The approximate scale is 4.5 meters, which is about right. The imported file doesn't have many small parts, and the image shows what the file looks like after removing small objects.
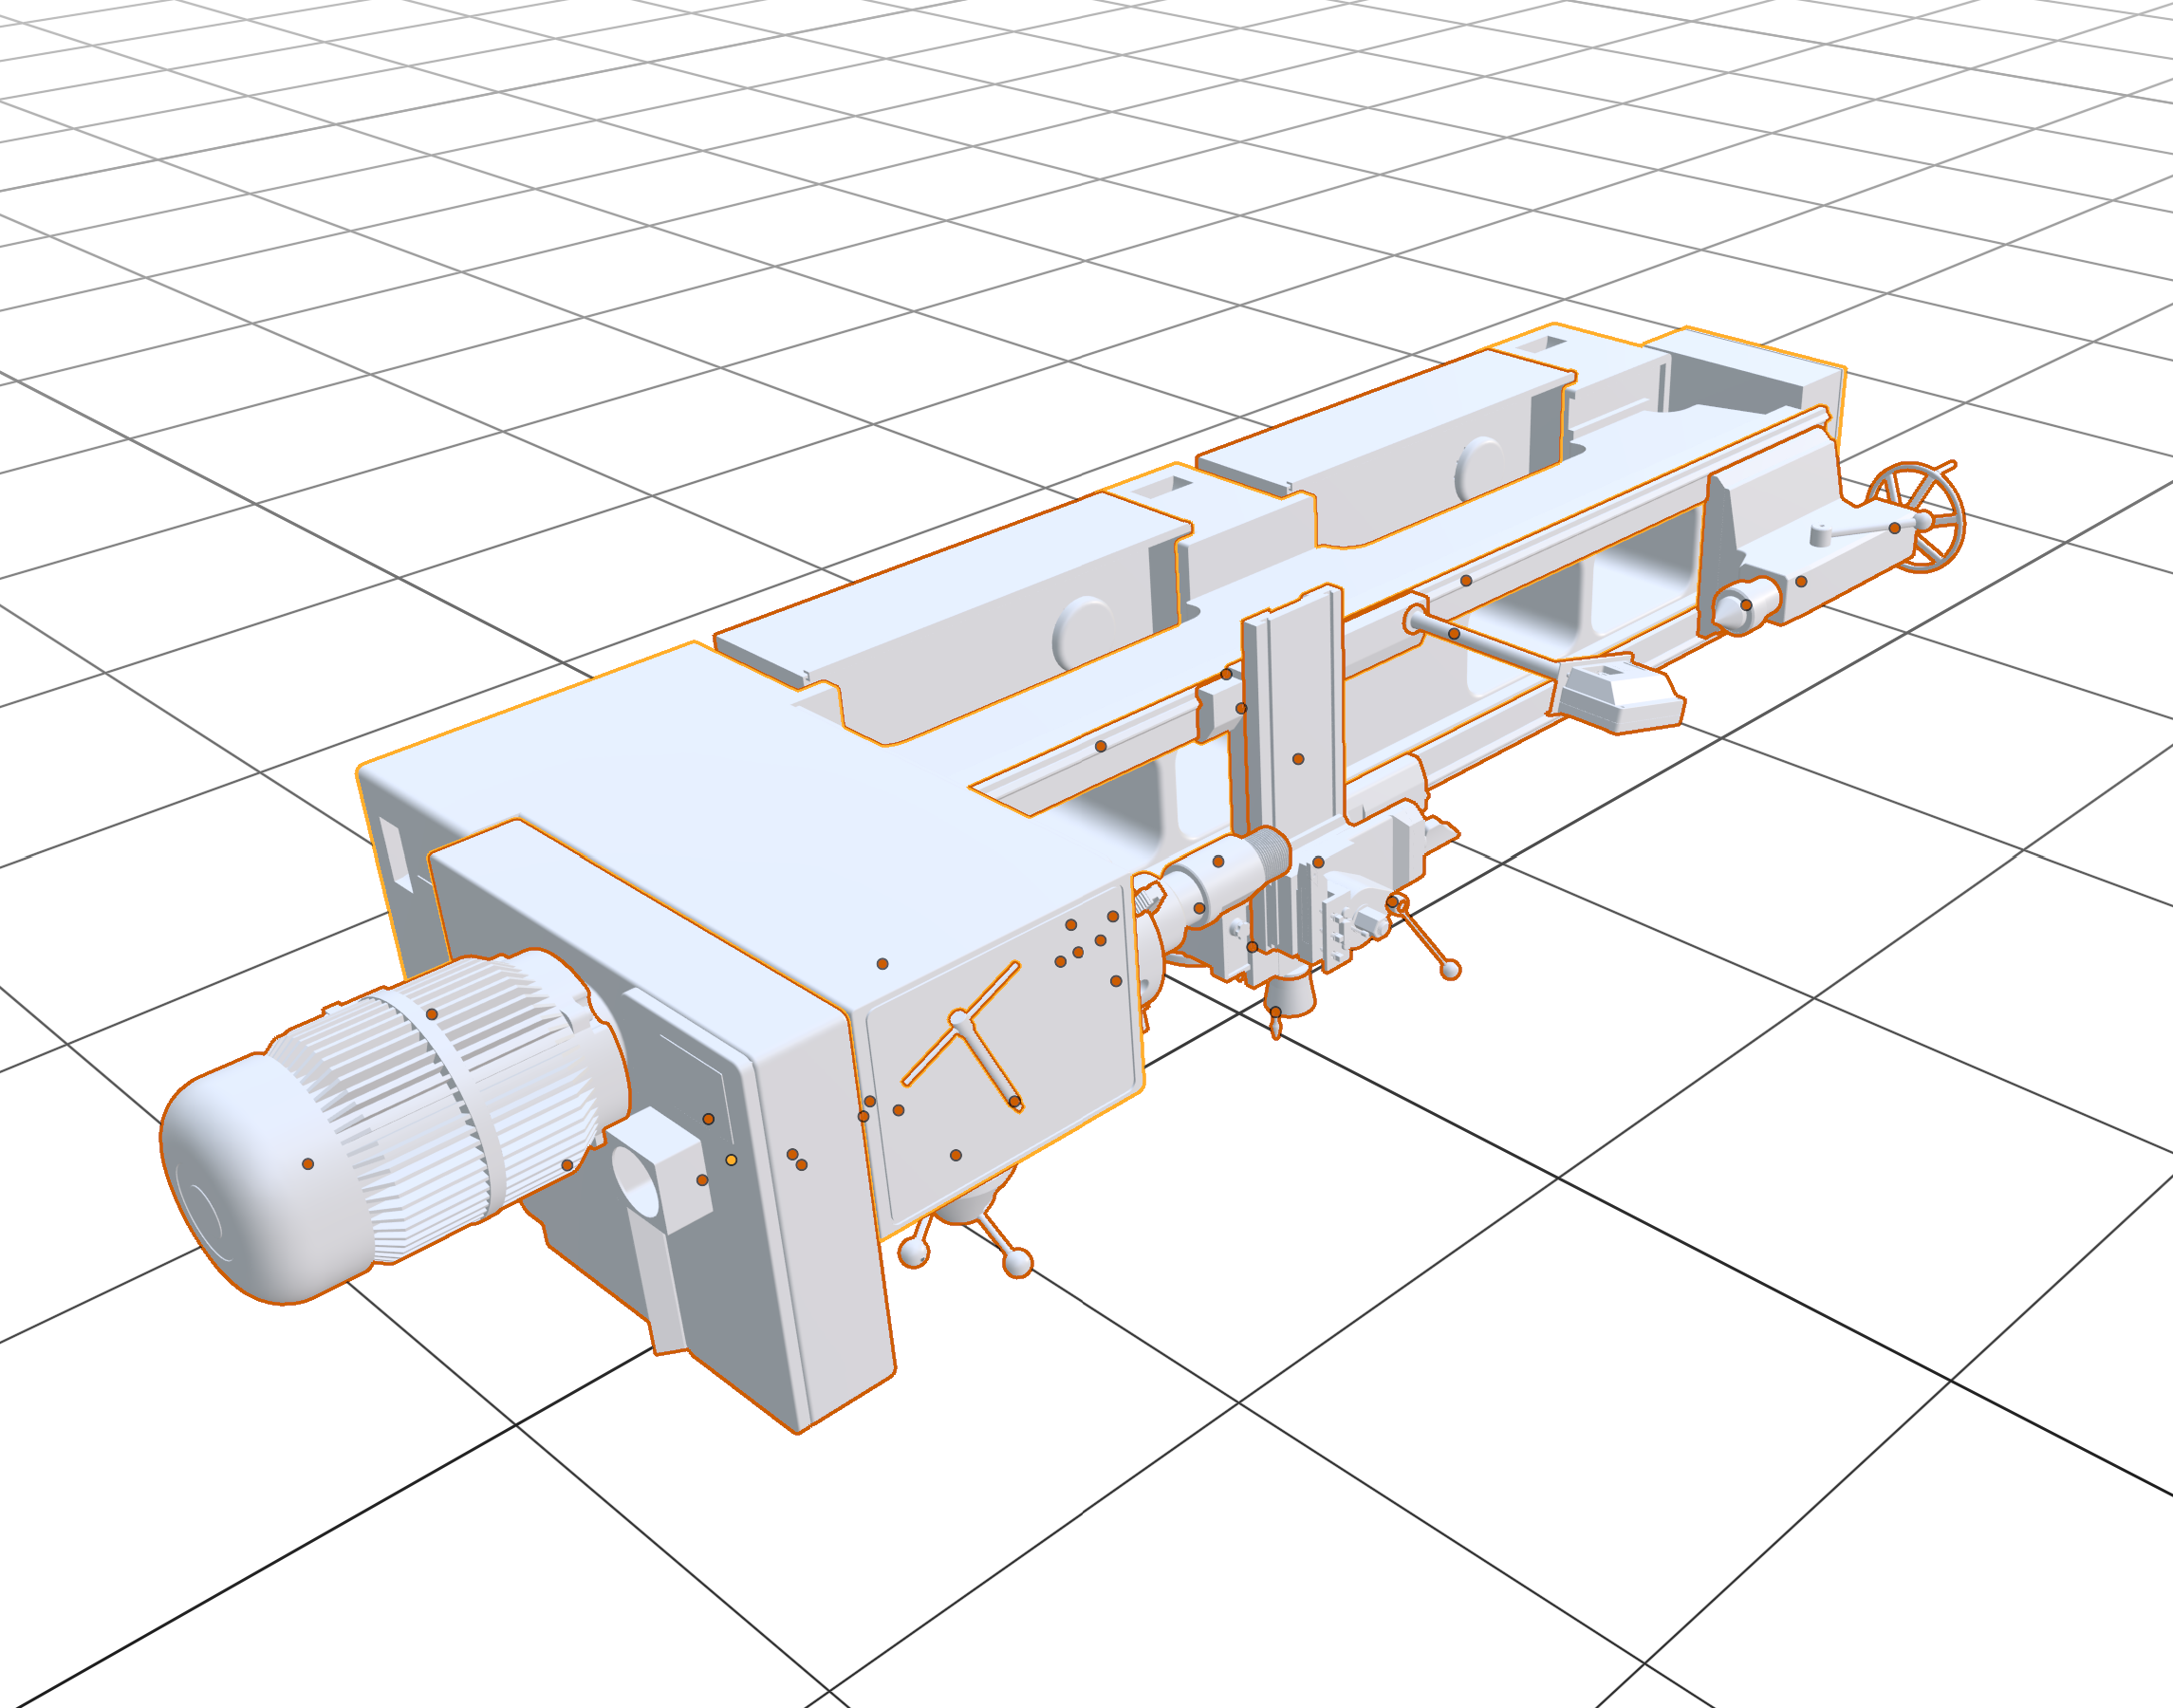
Step 3: Materials
The file didn't have many different materials, so these are the objects after the Seperate Materials step.
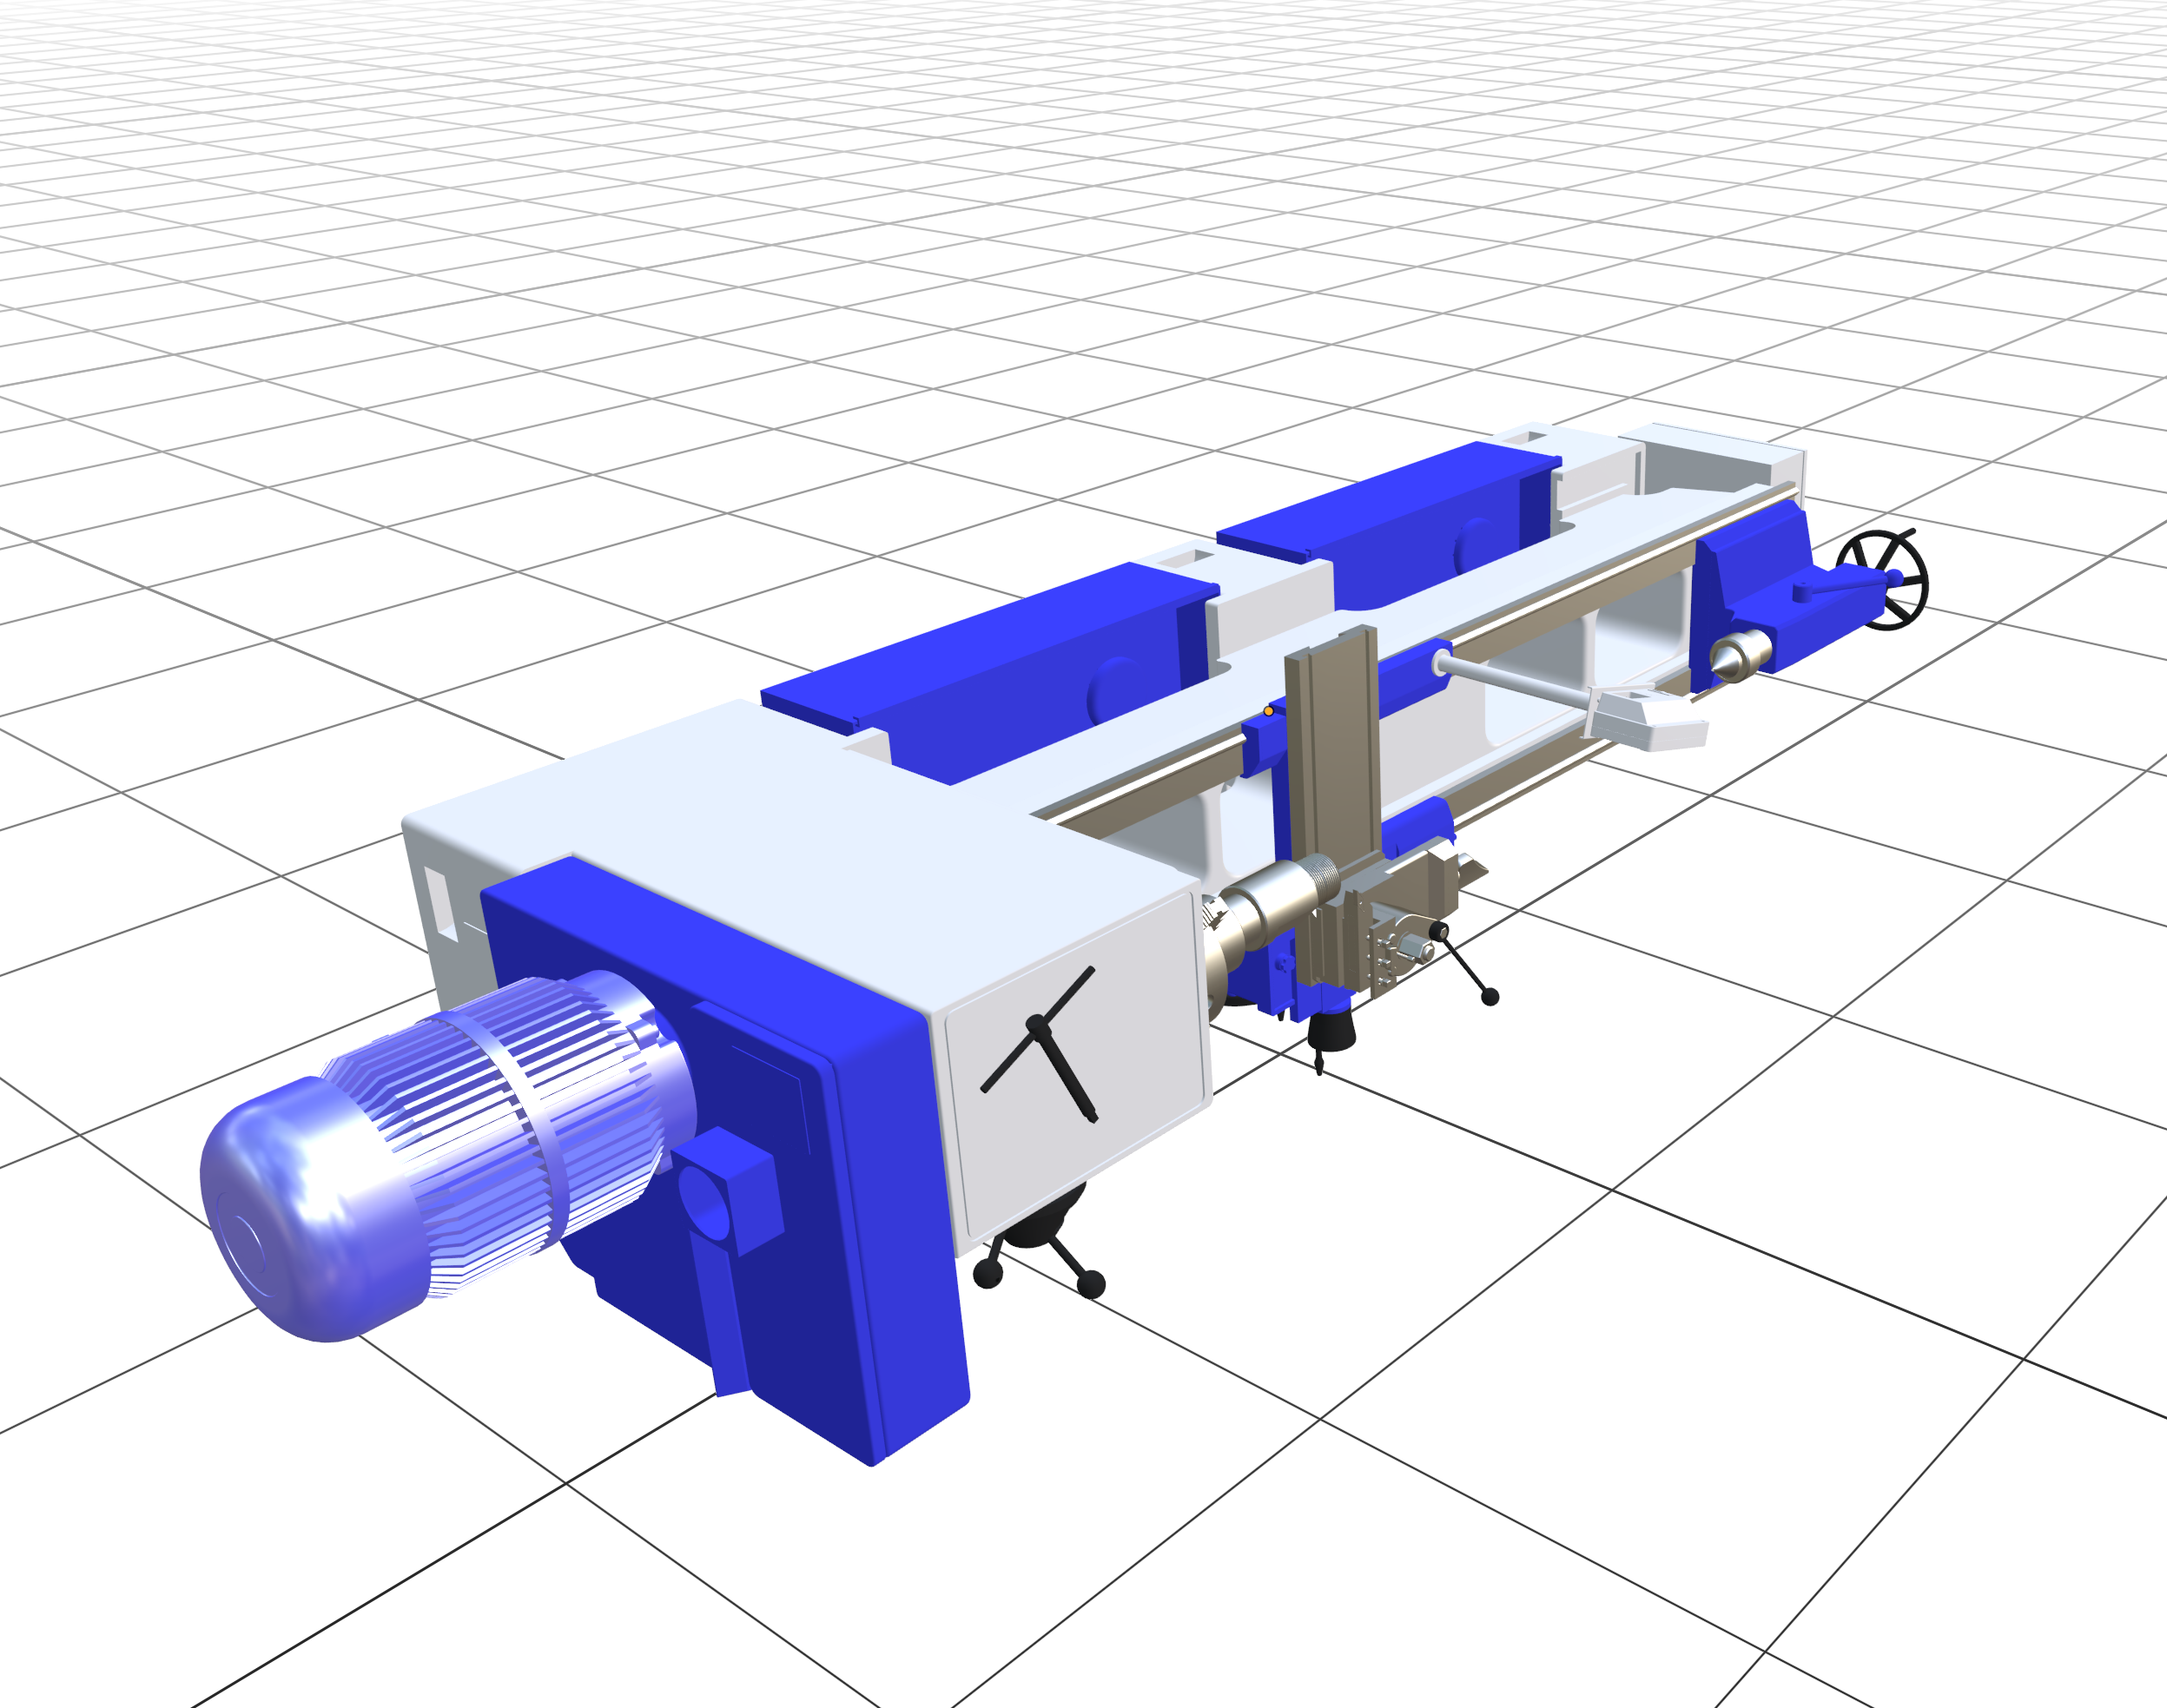
Because the file has big parts, some of the materials need to be assigned very broadly. I went for mainly for blue on the medium size parts and used black for accents. I used a glossier blue for the electric engine.
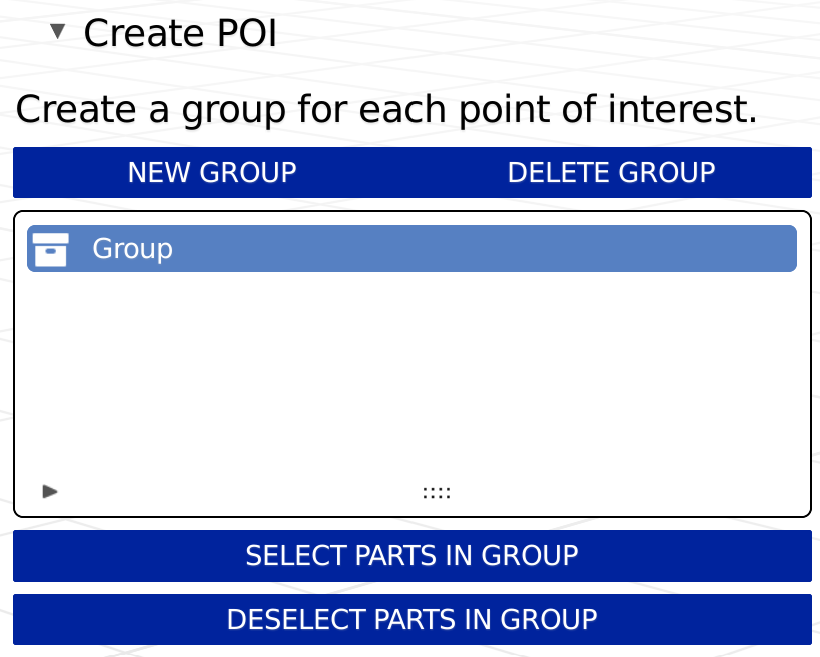
Step 4: Points of Interest
I want to have the engine to have a data point in the 3DVisualizr, so I need to make a new group and rename it by double clicking on the name, then typing "Engine".
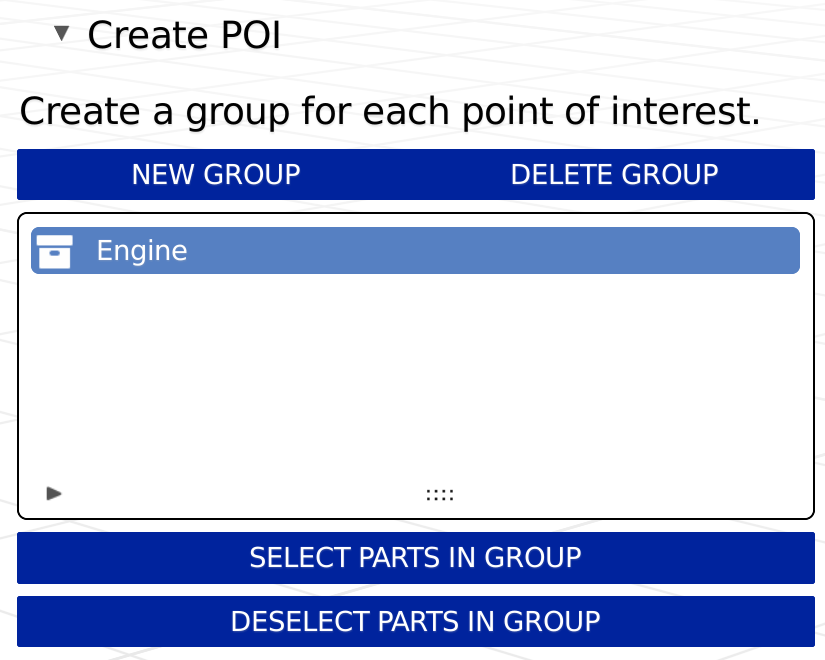
After making the group, I select the electric engine in the view by left-clicking on it, and then clicking on the ADD SELECTED PARTS TO GROUP button.

I don't need to use the Find Parts by Name feature, but here you can see after selecting the engine it's name appears for reference.
Step 5: Optimizing
Knowing from experience, I know that the drill bit attachment part's threads will decimate poorly, so I select it and click on the ADD SELECTED PARTS TO GROUP in the Protected Areas menu.
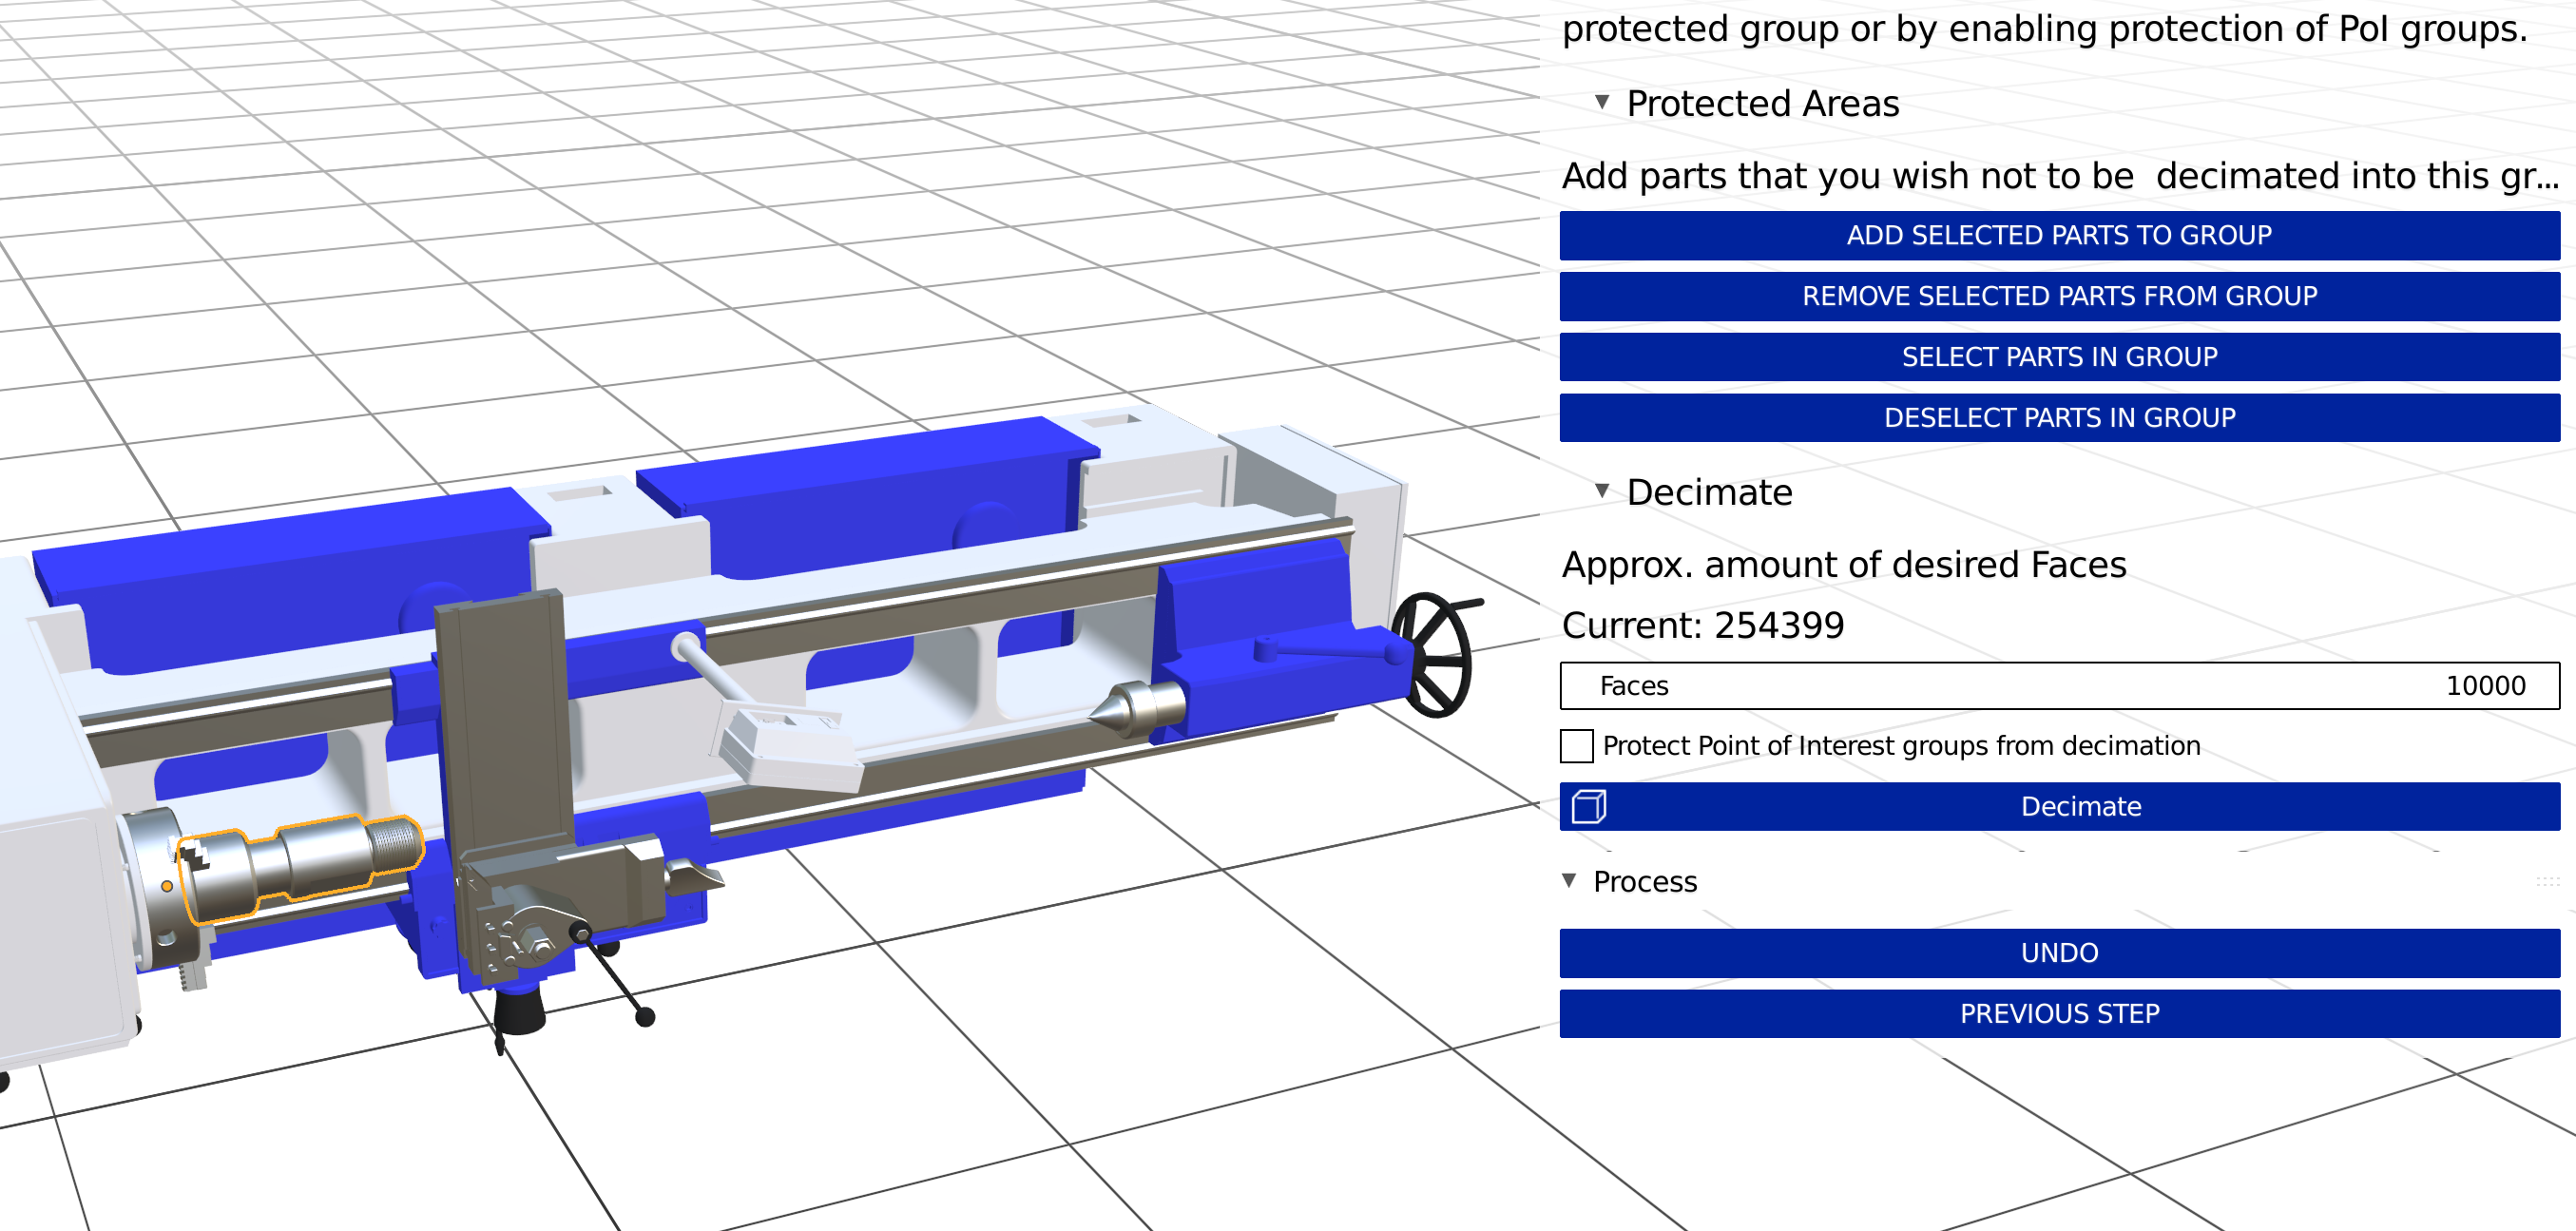
Before I want to try decimating the model, I want the engine to be excluded from the decimation as well. Since it is a Point of Interest, I can click on the little checkbox above the Decimate button to have it excluded.

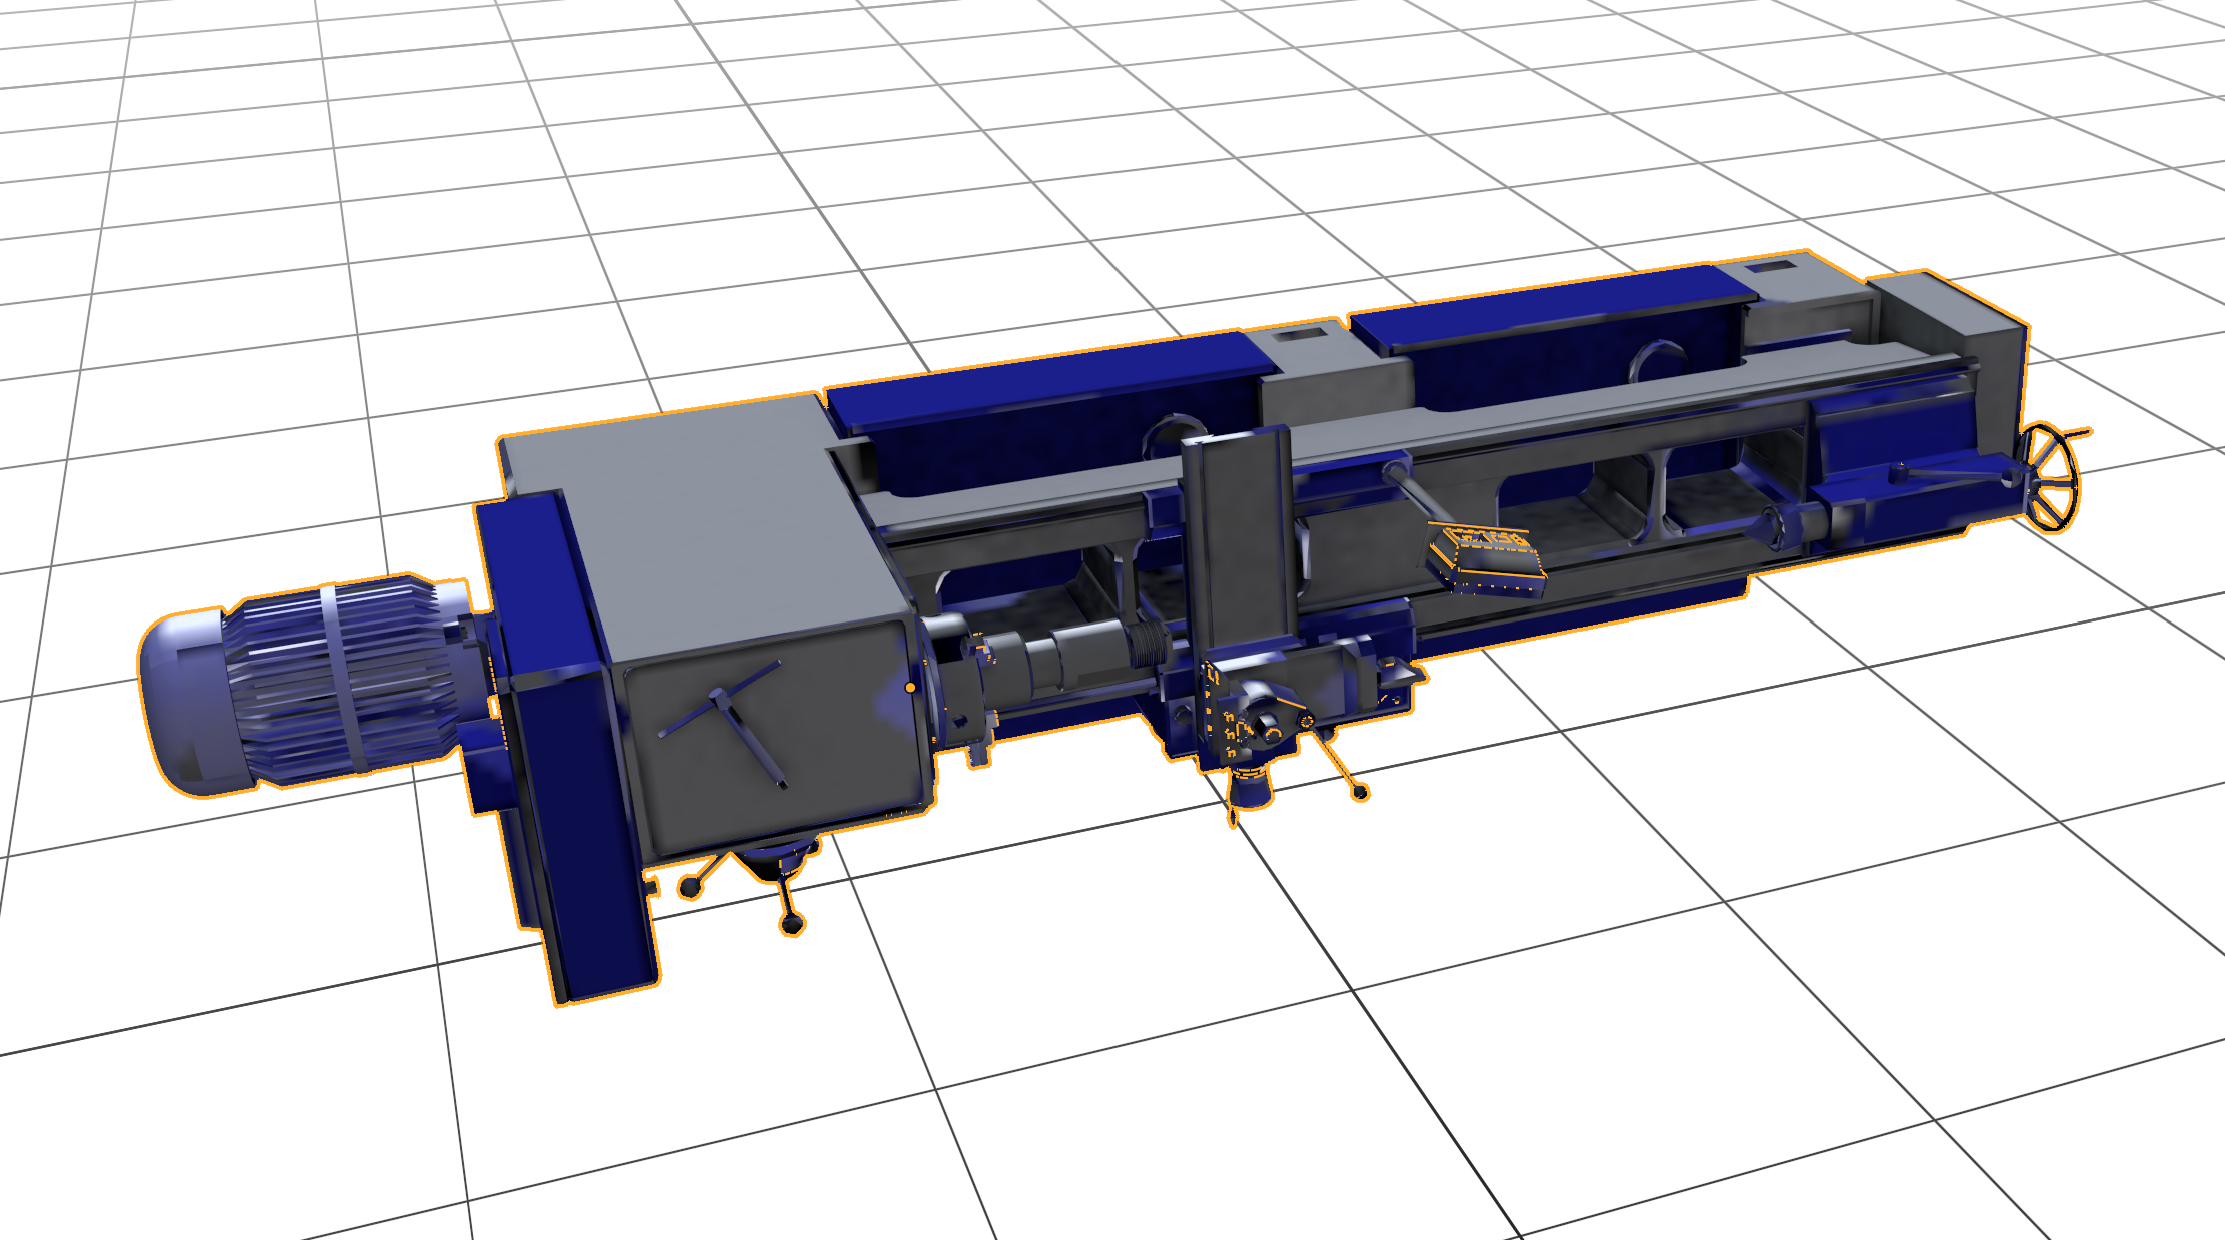
After trying some different values, I found 40 000 faces to be a suitable value. The final face value is ~40 000 plus the engine's and the bit attachment's faces, so about 57 000.
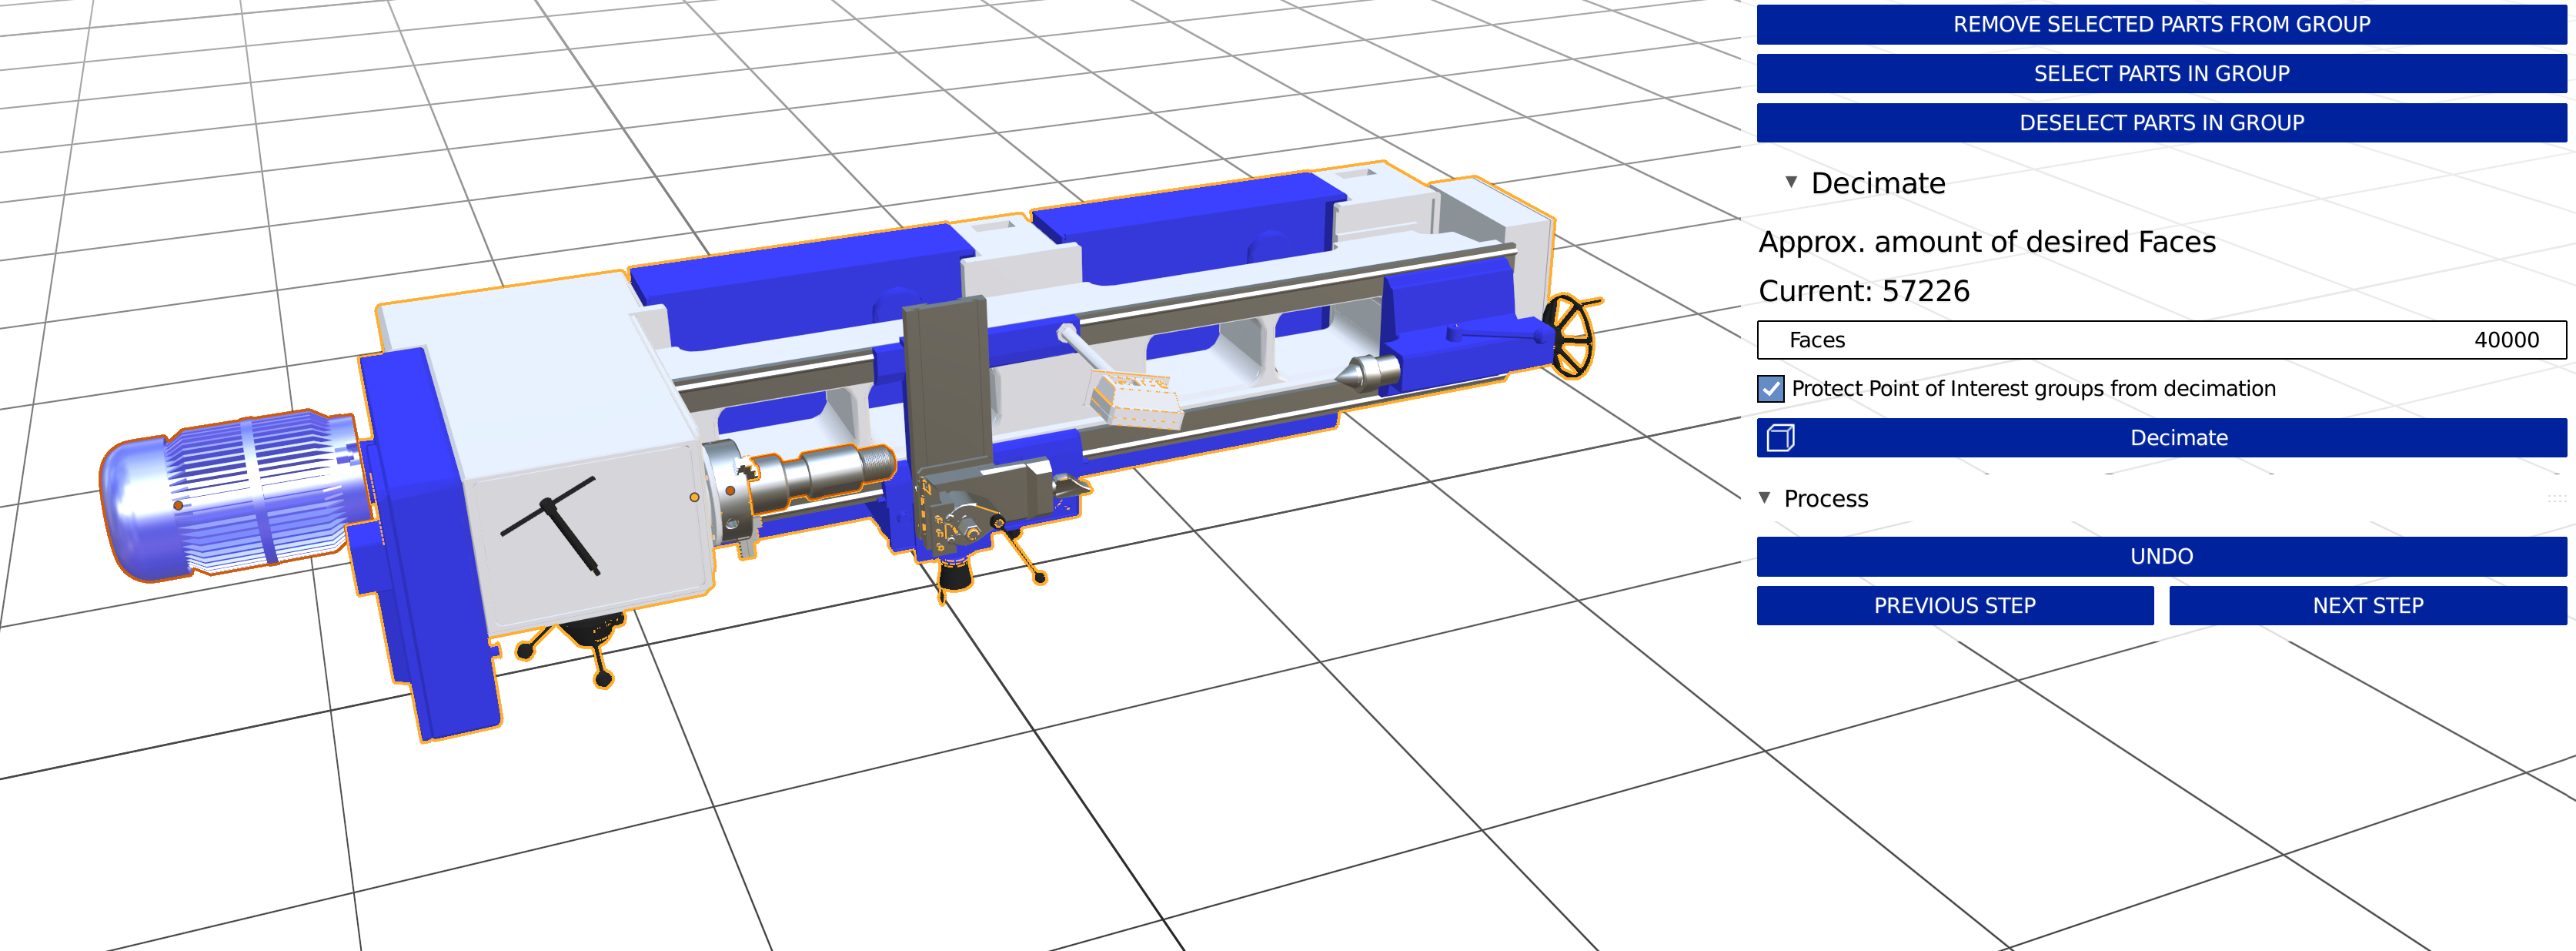
Here is a better view of the result: You can see some messy orange lines that are bad geometry, but they should look good enough in the final export.
Step 6: Textures
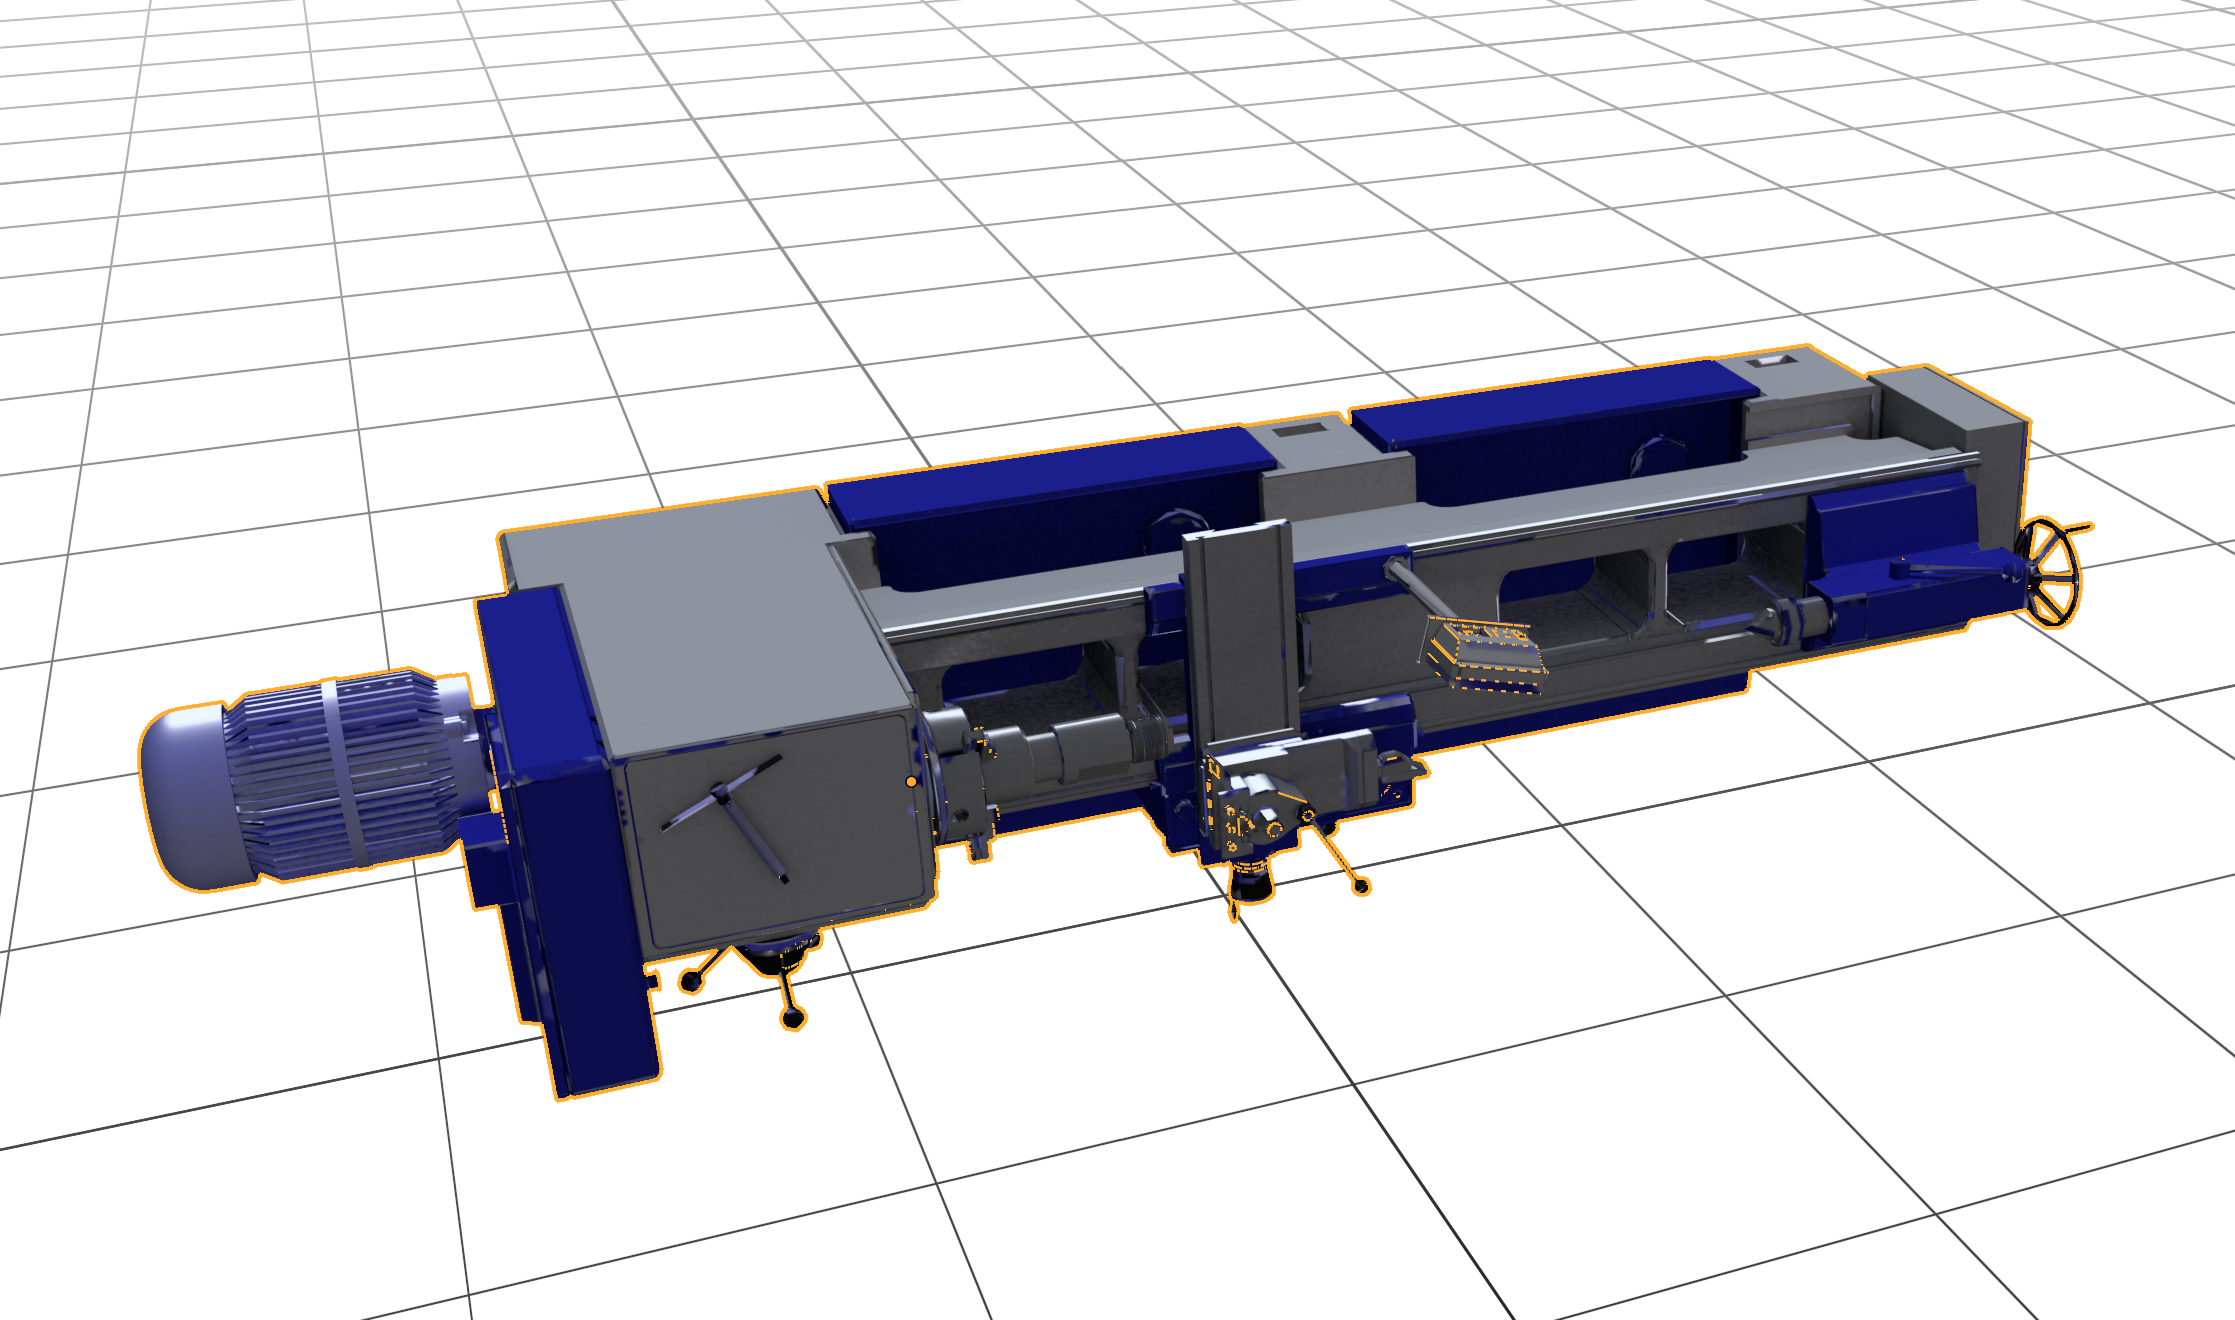
The baking process is simple but takes time. Firstly I used LOW settings, but the quality was a little bit too messy.
I UNDOed the bake and tried again with MEDIUM setting. This result is suitable.
Step 7: Exporting
Everything is ready for exporting now, so I click on the EXPORT button and felect the file location.
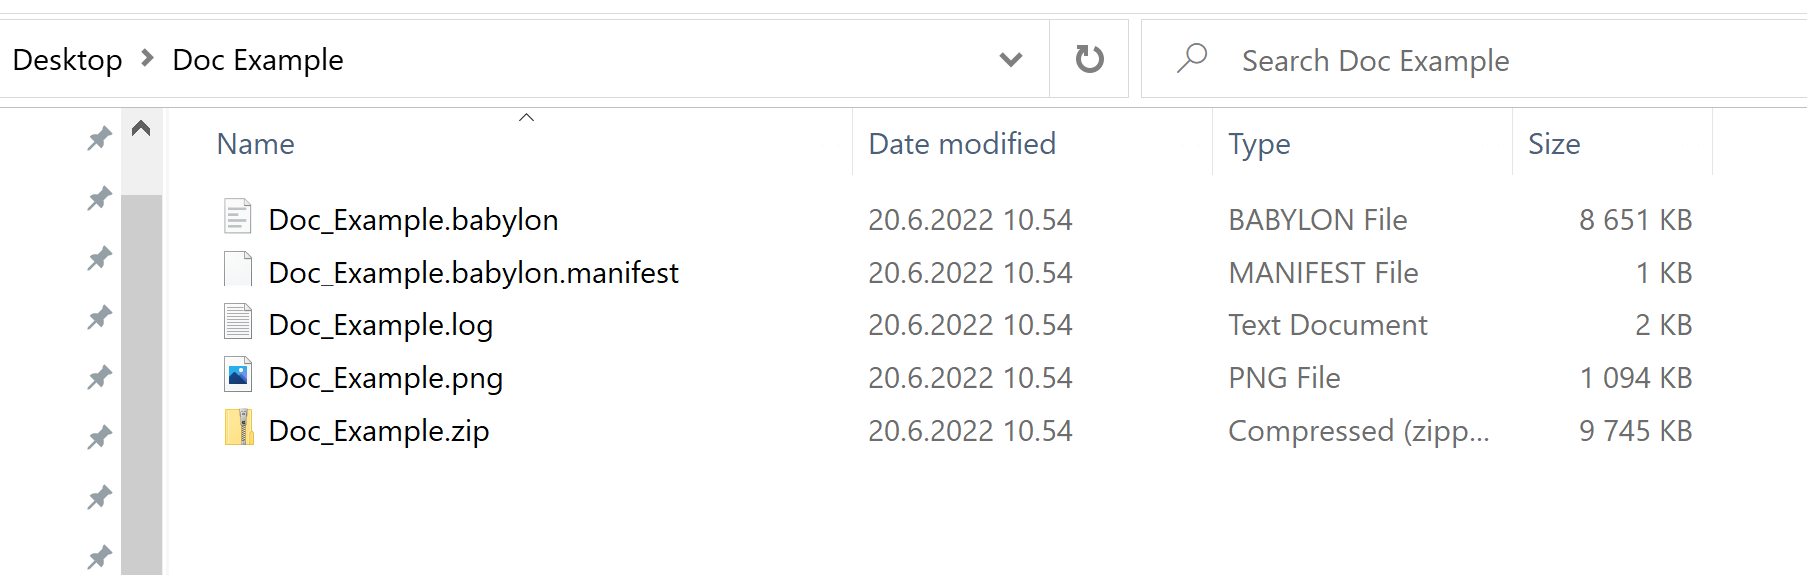
After the export is complete, the file structure should look like this:
Uploading
To upload the model, I got to the 3D Portal site, there into the models section and just drag and drop the .ZIP file on top of the site.
The end result should look like this in the 3DVisualizr:
