Module Concept
If you are already opened the scene menu, there are a couple of modules that you might need to know before going deep into Asset Placement.
Icon Menu
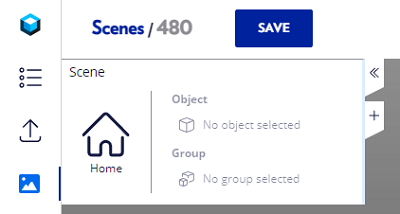
There are two tiny buttons on your top-left and top-right side of the screen, the “>>”, “<<”, and “+“ icons. Where “>>” and “<<” have the function to hide and unhide the module that you already choose, as default you will have a scene home like this. If you do not have a module yet, then nothing will appear when you click the icon.
While “+” has function to add the modules.
Add Modules
There are several modules with different functions available when you click “+” that you can choose to help you build your digital factory.
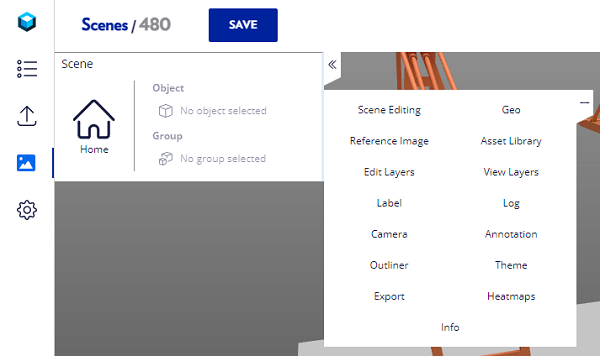
Just click the module, and the module will appear in the side menu. In this example I choose “Scene Editing” and it will appear under the scene home panel.
Delete Modules
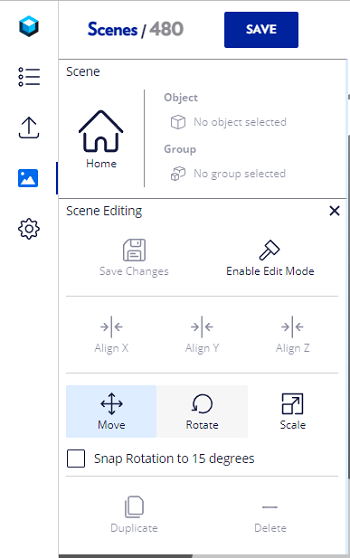
To delete a module, click the small “x” icon in the corner of the panel.
Hide & Unhide Modules
You can hide and unhide all the modules to give you a full clear screen by click the “<<“ or “>>” icon.
Move Modules
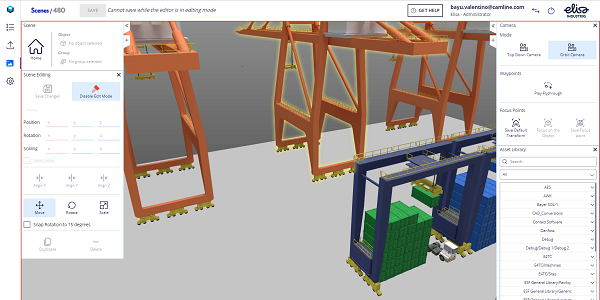
If you want to move the module from the left side to the right side, just hold the module panel and move it to the opposite side. This is the scene looks when you used both sides of the module.
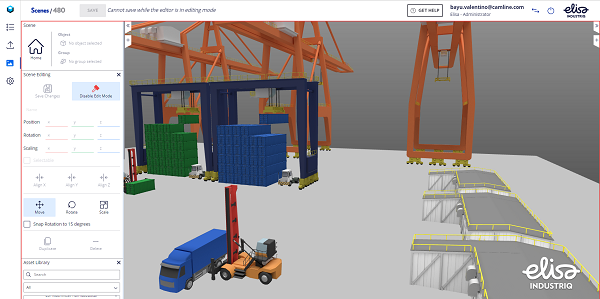
And this is the scene looks when you only use one side of module.
If you already understand how the module work, it will be easy to explain the Asset Placement.
Asset Placement
Asset placement is where you can put the available asset that you had into your scene. Once you added an asset into the scene, you can move, rotate, and scale all the assets according to your needs. To do asset placement, you need to have a scene. If you never had a scene, you can learn how to create a scene here
If you already had one, you can just open it by click the scene menu.
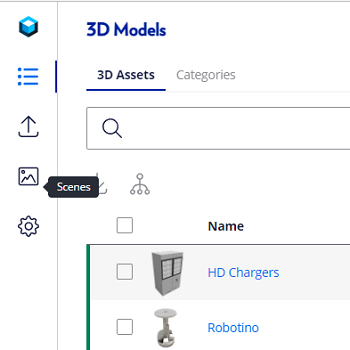
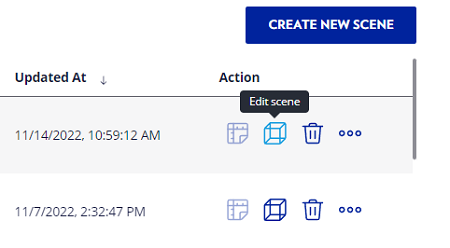
Look for the scene list, and choose the scene in which you want to do asset placement.
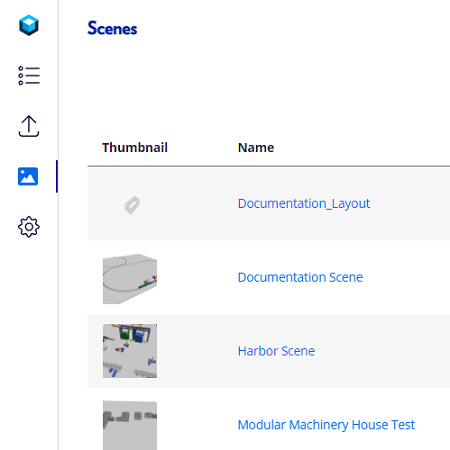
Click the “edit scene” option that is on the right of every list.
Enabling to edit mode
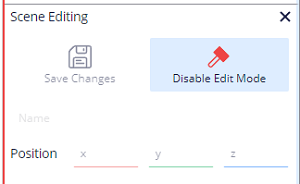
Before you add the asset, you have to enable the edit mode. Click “Enable Edit Mode” on the menus.
Add an asset
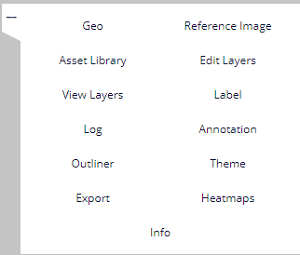
Open asset library, Click “+” button and choose “Asset Library”.
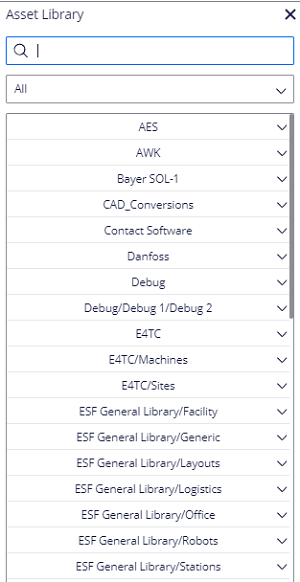
In the Asset Library panel, you can search for the assets you want by typing the asset name in the search panel, or you can just scroll down all the categories if you already know where the asset categories you had are.Once you find the asset, just drag it into the scene.
Adjusting the asset
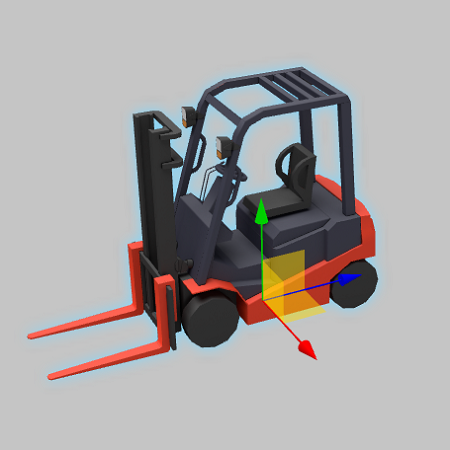
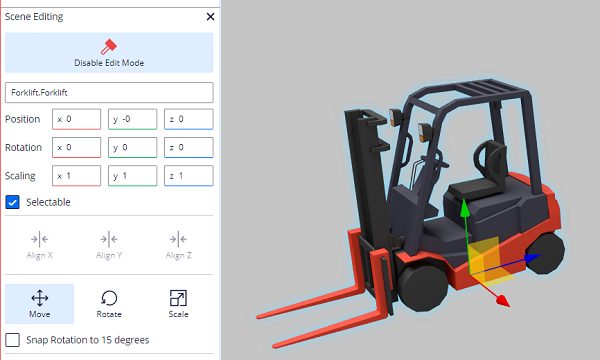
Every asset that you selected will have an XYZ axis that points in different directions, and the middle point where all the axis meet is called the origin. The origin point is in the middle-underneath point of the geometry asset. The XYZ axis can also be recognized by the color, green (x) for ups & down, red (y) for right & left, and blue (z) for front & back sides. You can move, rotate, and scale the asset according to the axis direction.
Move
Click the “Move” button, then hold and move the arrow axis to the place that you want. You can use the move box value on the menu and type the value of the location. Value 0,0,0 will put the asset in the middle of the scene.
Rotate
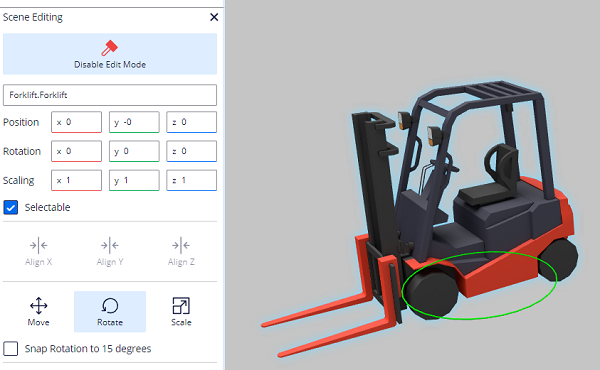
Click the “Rotate” button, then hold and rotate the asset by following the green circle, You can use the rotation box value on the menu and type the value of the rotation. Value 0,0,0 will rotate the asset to the actual rotation based on the original file.
Scale
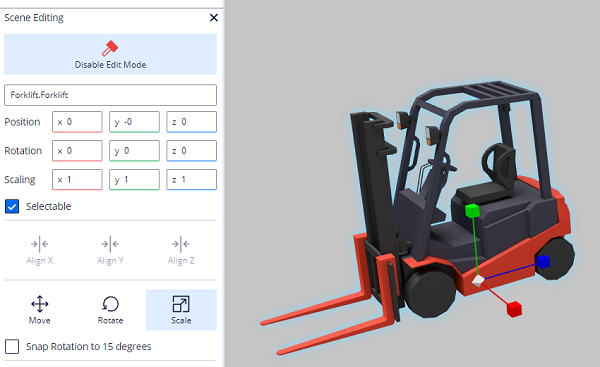
Click the “Scale” button, Scale the asset by holding and moving the arrow axis. Use the origin axis (the grey) to maintain the aspect ratio (proportional). You can also use the scale box value on the menus and type the value of the scale. Value 1,1,1 will turn the asset to the actual size based on the original file.
Delete and duplicate asset
You can delete and duplicate assets in a simple way by selecting the object, then clicking the “Delete” or “Duplicate” button on the menu.