What is an Assets Library?
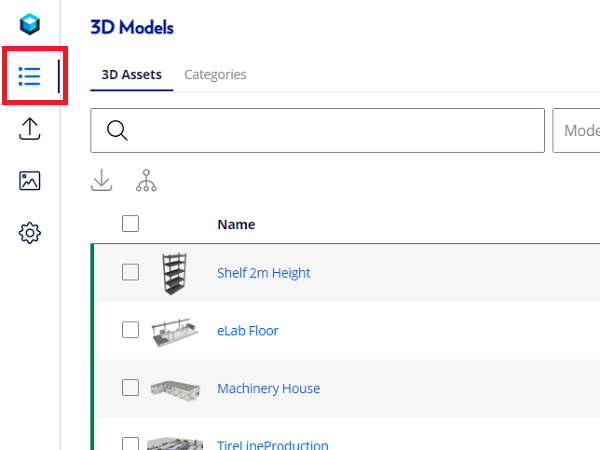
Assets Library is a collection of 3D assets where all the 3D models that have been uploaded are kept. You can see a list of assets they had when opening the 3D portal by clicking the 3D models option on the menu on the side left of the screen.
Why do we need an Assets Library?
Because you need to manage a lot of assets for the project you work on. By looking at the Assets Library page, you will know detailed information about each of the assets.
Managing Assets Library
You can use an existing asset for the scene, including managing the assets by uploading, updating, and deleting the assets.
Uploading
You can upload a 3D model in your own way, Detailed information on how to do it can be accessed here
Versioning
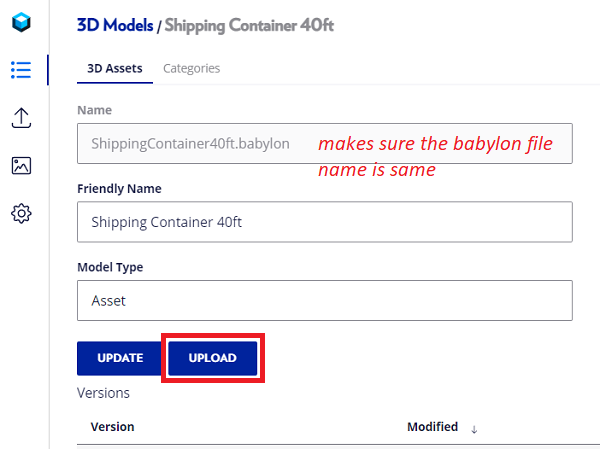
Click the asset name, click the “Upload” button, and drag the 3D Babylon file. For replacing an old asset with a new one, you have to make sure the file name is the same, including space, uppercase, and lowercase.
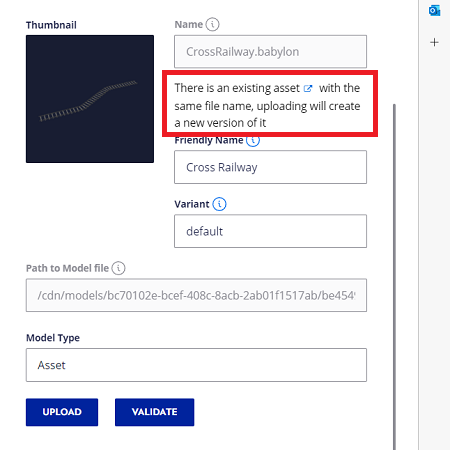
During uploading the model, there will be information that the new model will replace the old model. It happens because of the same name file.
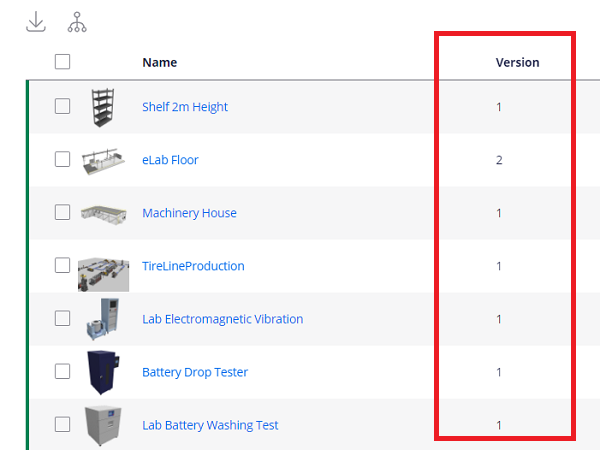
On the asset library page, you can see how many versions of every model.
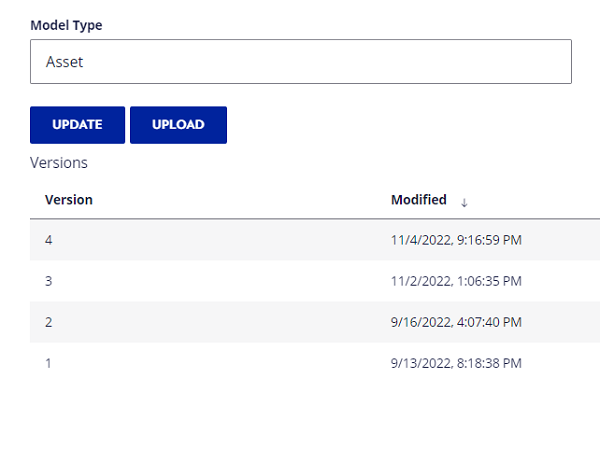
By clicking the assets name, you can see the detailed information for every version, and you are able to preview the older version.
Renaming
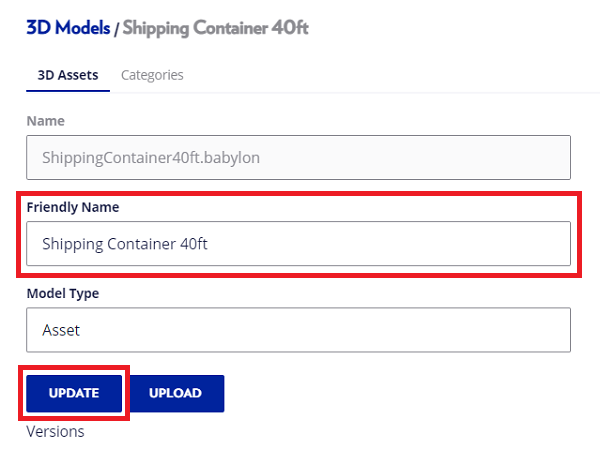
Click the asset name, type the new name in the “Friendly Name” column, and then click the “Update” button.
Deleting
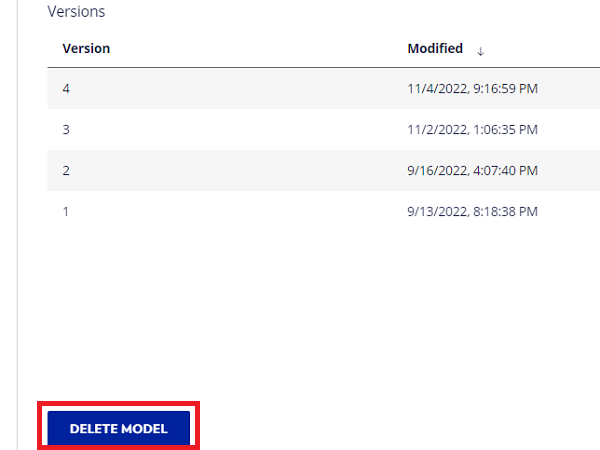
Click the asset name, then click the “Delete Model” button on the left bottom screen.
Thumbnail
Thumbnail is where you can preview the asset model by clicking the image of the assets.
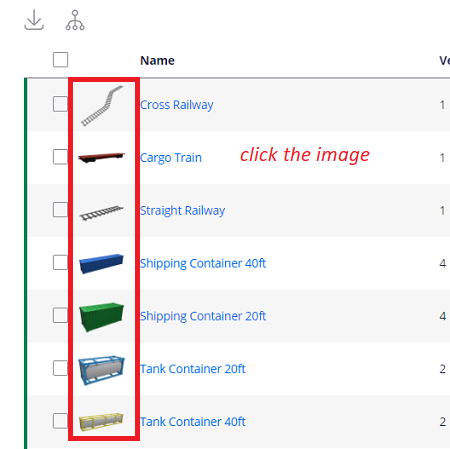
Pop-up window thumbnail will appear.
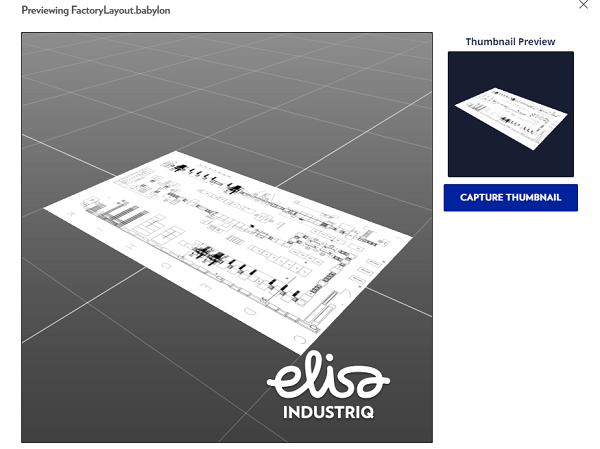
The Thumbnail image was created during uploading the assets as a mandatory process right before clicking the upload button, detail process can be accessed here
Categories and Assigning
You can put categories for every asset you had that is related to a specific area. One asset can also have several categories.
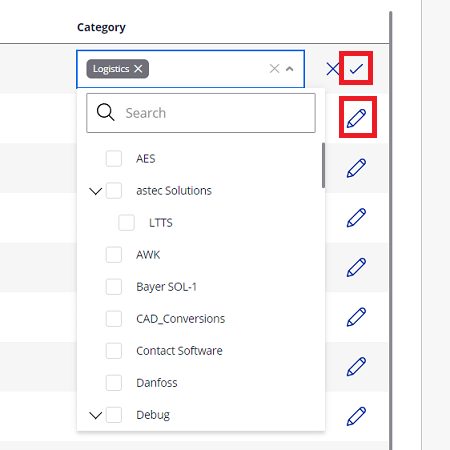
Assigning Category for single asset
Click the pencil logo on the right side of the asset, type the category search or scroll down the category that you want, ticked on the category and saved it by clicking the check logo.
Assigning Category for multiple assets
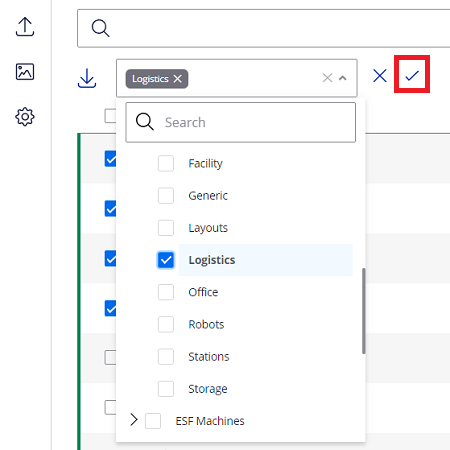
Choose the assets you want to put the category, click the category icon on the top.
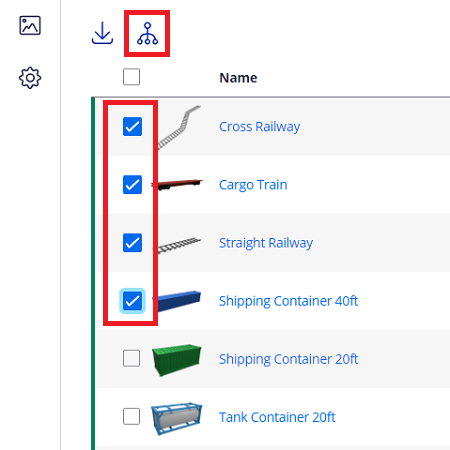
Type the category search or scroll down the category that you want, ticked on the category and saved it by clicking the check logo
Assign a new category
Open the category menu at the top, click “+” icon to add new category
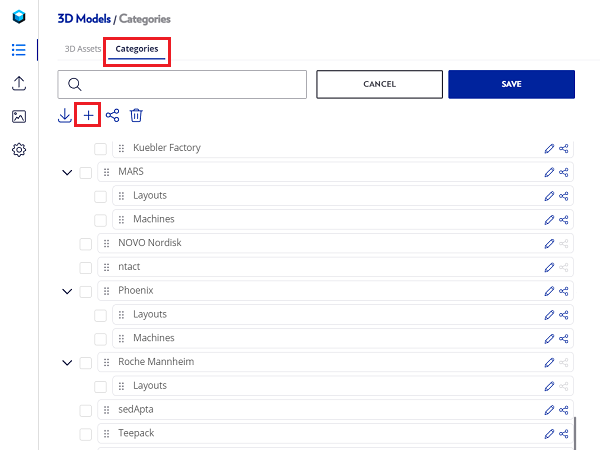
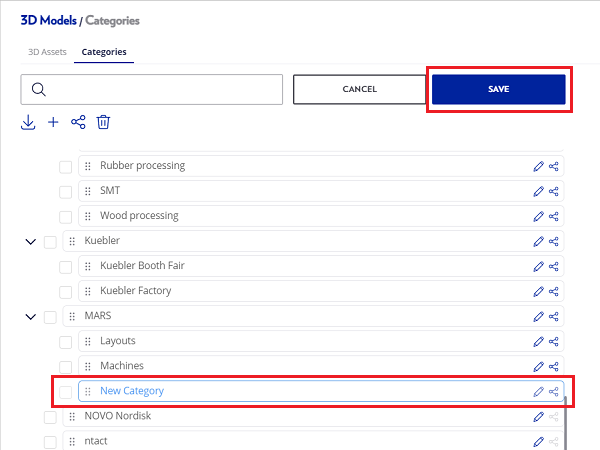
Scroll down, fill the blank column category with the category name you want, and then click “Save” button.
Manage Category
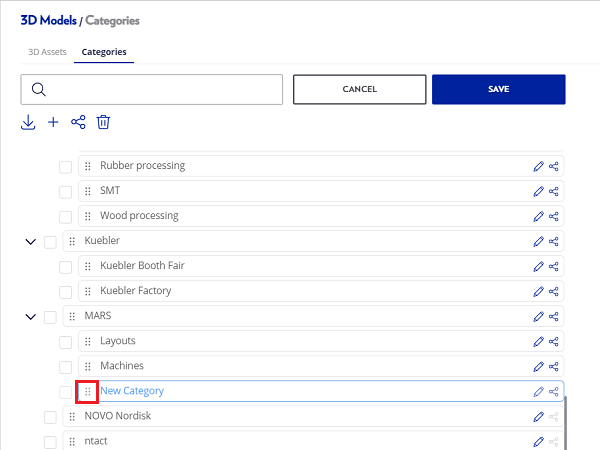
You can make the category stand alone or under another group category by moving the board of category. Click and hold the icon below, and then move to the place you want.
Rename Category
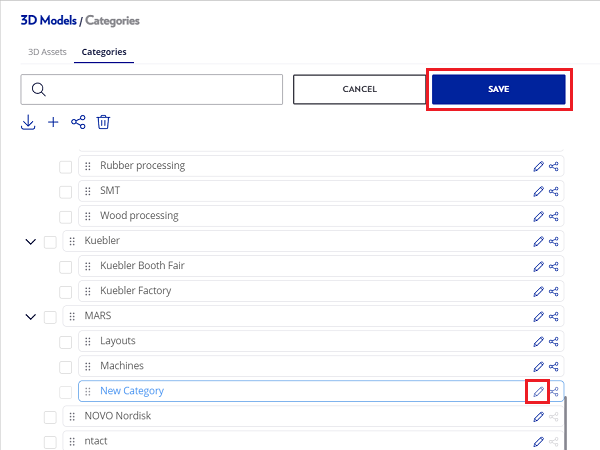
You can also rename the category by clicking pencil logo, renaming, and then click save button at the top.
Delete Category
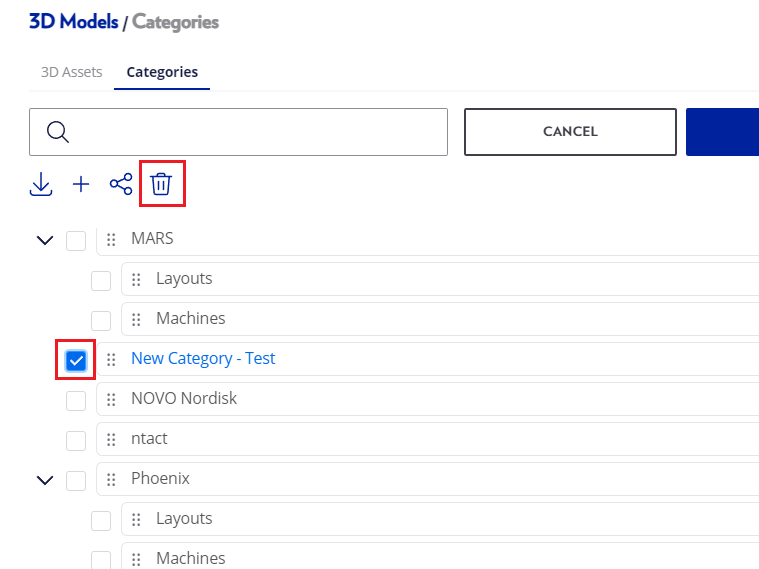
to delete the category, simply ticked on the category you want to delete, then click the delete icon.
Tag
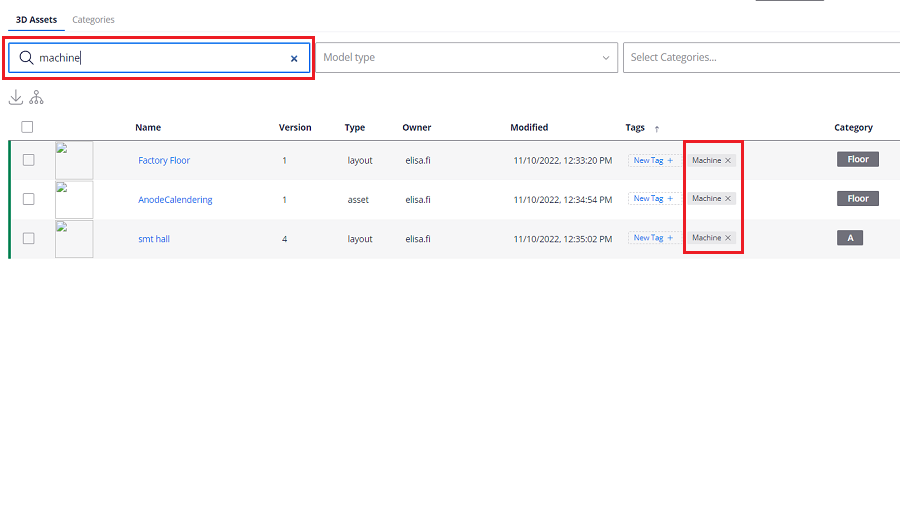
A tag is a label attached to an asset for the purpose of identification and additional information. Tags could be helpful by making one asset related to another asset although it comes from a different category. It also makes the search process easier by typing the tags' names in the search column. One asset can put more than one tag.
Add New Tags
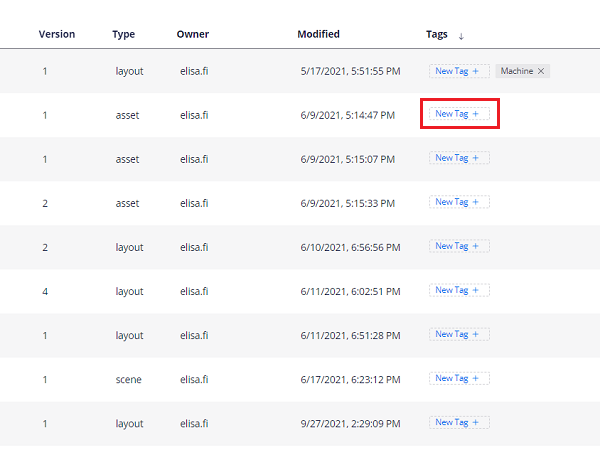
Click the “New Tags”, type the tags name you want, and enter. You can see a new tag successfully added
Add Existing Tags
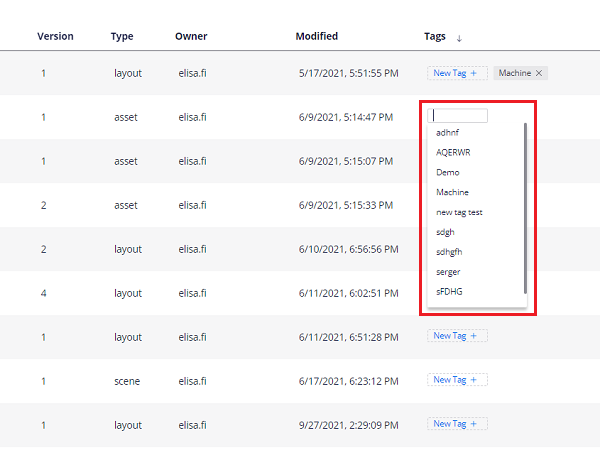
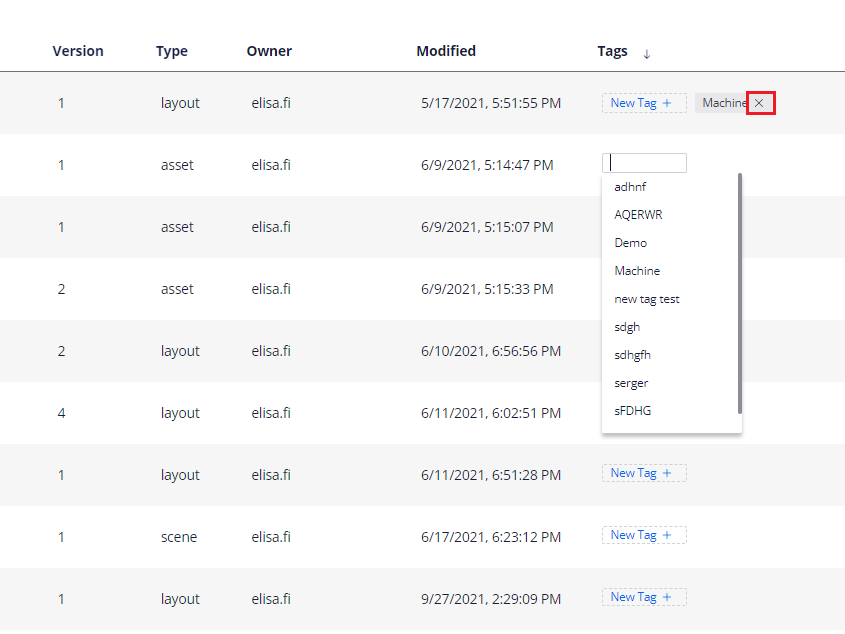
Click the “New Tags”, choose the existing tags you want, and enter. You can see tags successfully added
Delete Tags
To delete tags, click the “X” icon next to the tag's name.
!
Search Tags
To search an asset by tags, go to the search column, and type the tags name. all the assets from different categories that have the same tags will appear
